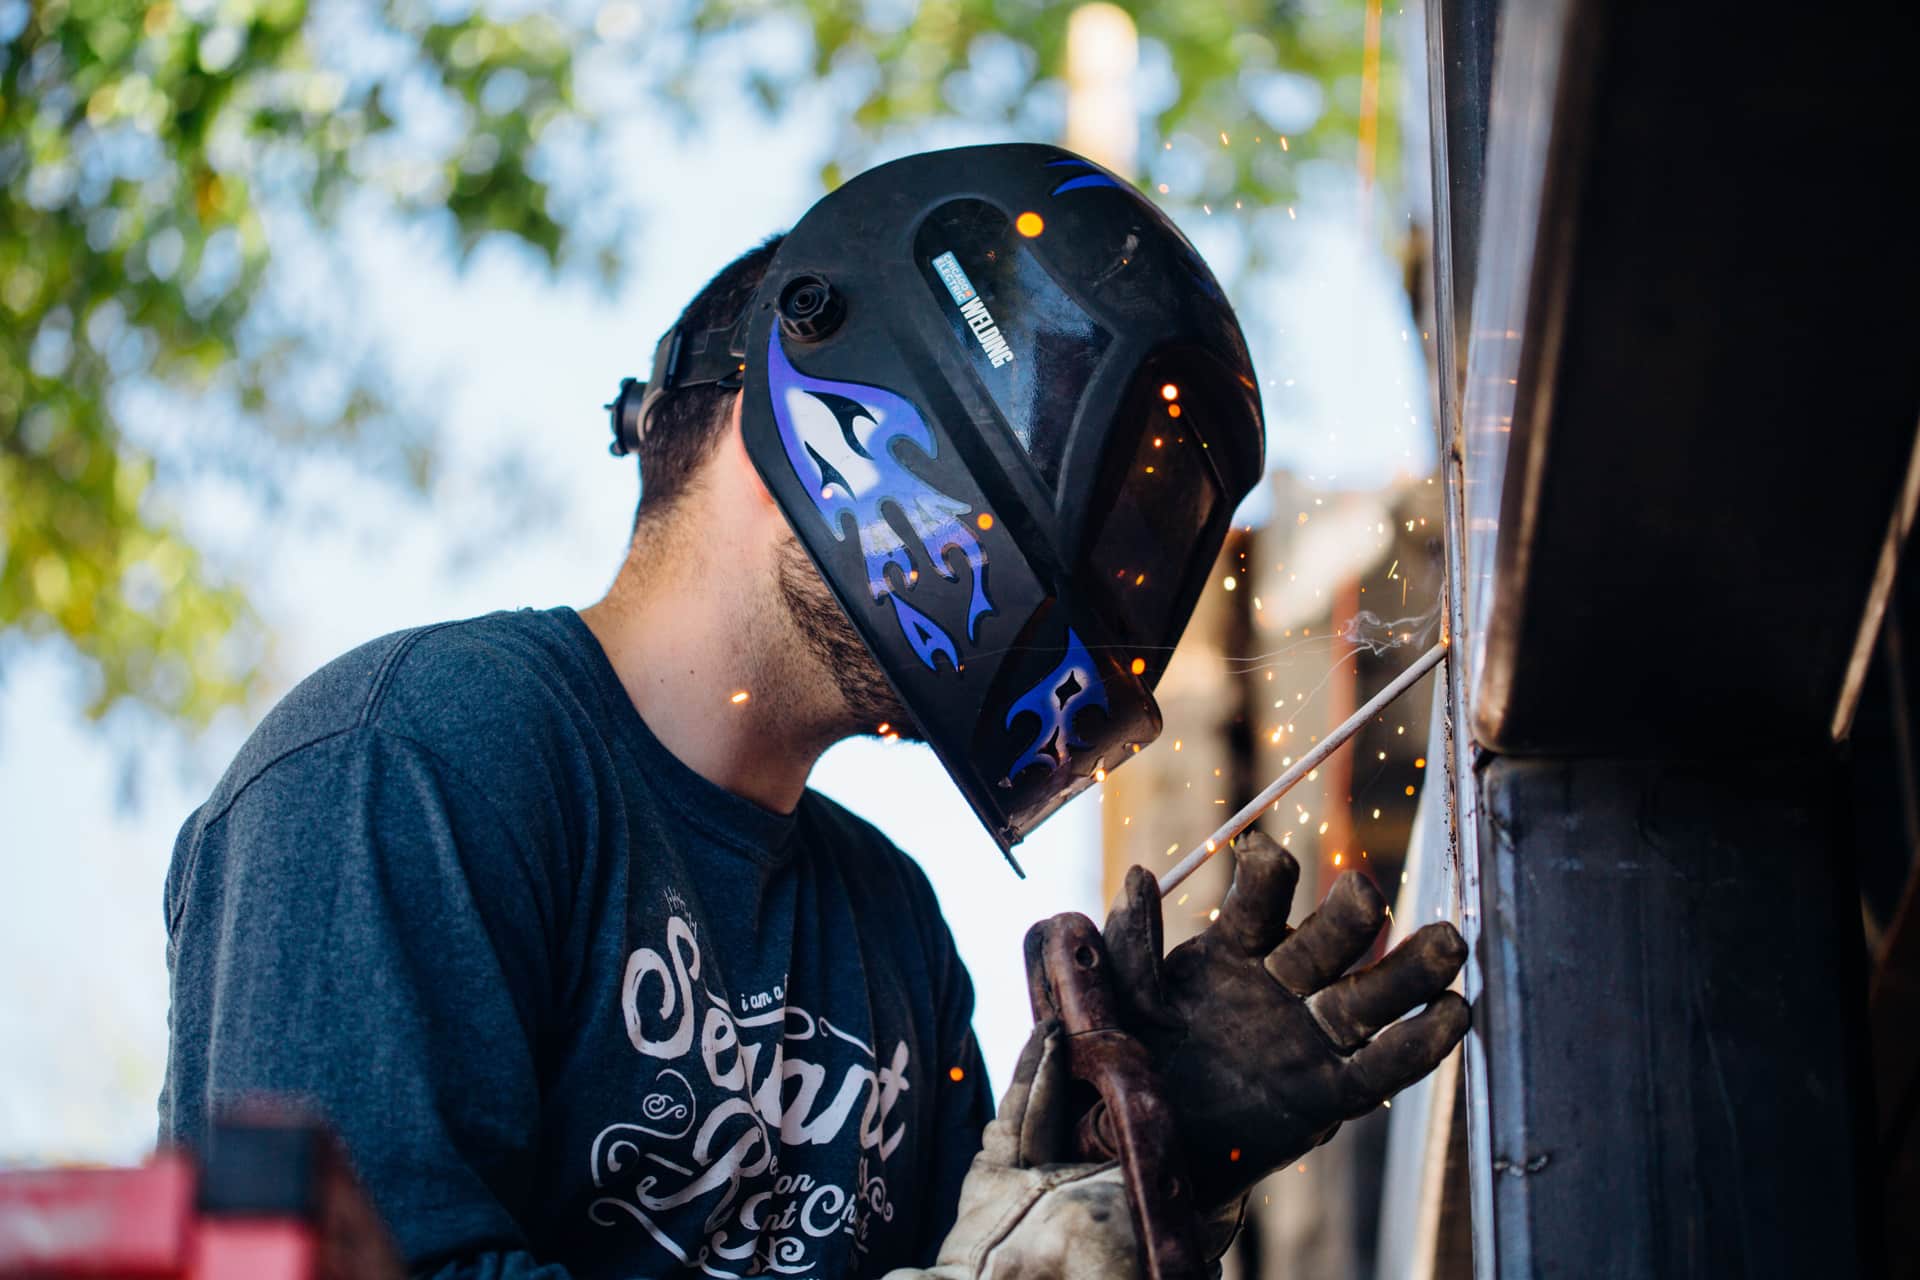
Best first helmet
The best welding helmets for beginners
The purchase that improves a beginner's welds fastest, and where spending more stops helping.
Our pick: Antra AH6-660

Every level needs a helmet. What the right helmet is changes as the level changes — and a bad one is the most common reason a beginner's welds look worse than their technique.
Best first helmet
Four sensors and ANSI Z87.1 at an entry price. Genuinely enough to learn on.
Here is the thing about welding helmets that nobody says clearly enough: the helmet is not protective equipment that happens to have a window in it. It is the instrument through which you do the entire job. You cannot steer a puddle you cannot see clearly, and a large proportion of beginners whose welds look bad are not welding badly — they are welding nearly blind through a small, hazy, slow lens and correcting by feel.
That is why this hub cuts across every level rather than sitting inside one. The need for a helmet never changes. What the right helmet is changes a great deal between Level 1 and Level 3.
Shade range. Auto-darkening helmets have a light state, which is what you see through when no arc is present, and a dark state that engages when the sensors detect one. Most variable helmets cover roughly shade 9 to 13 in the dark state, which is the range for arc welding. What varies usefully is the bottom end: a helmet whose range starts at shade 5 covers plasma cutting as well, which matters if you expect to get to Level 4. The shade chart has the numbers by process and amperage.
Viewing area. Measured in square inches or in millimeters. Budget helmets run around 6 to 9 square inches; large-view helmets reach 12 to 13. This is the specification you feel most immediately, particularly on long or awkward joints where peripheral vision tells you where the part is.
Optical clarity. Published as four digits, each 1 to 3 with 1 best, covering optical class, diffusion, luminous transmittance variation and angle dependence. A 1/1/1/1 lens is genuinely clearer. The honest framing is that this shows up as eye fatigue over a session rather than as anything dramatic in the first five minutes.
Sensors and low-amperage triggering. Two-sensor helmets can be fooled when your hand or the workpiece blocks a sensor, which happens constantly out of position. Four sensors largely solves it. Separately, and importantly for Level 3, a budget lens that triggers reliably on a 100-amp MIG arc can fail to darken on a 15-amp TIG arc. Helmets intended for TIG publish a minimum amperage rating, and if you are TIG welding thin material you need that figure.
At Level 1, a well-made budget auto-darkening helmet with four sensors and a genuine ANSI Z87.1 marking is entirely sufficient, and spending the difference on a grinder and clamps is the better allocation. What you should not do is buy a passive fixed-shade helmet to save a little more — passive versus auto-darkening explains why the nodding motion to drop a passive hood ruins your torch position before you have learned what a good torch position is.
At Level 2, viewing area and clarity start paying for themselves, because you are welding for longer and caring what the result looks like.
At Level 3, low-amperage triggering stops being a nice specification and becomes the requirement. Auto-darkening helmets covers the machines that handle it.
Fit is its own axis and it is the most under-discussed. If you wear glasses, shell depth decides whether a session is comfortable or miserable — helmets for glasses wearers. If you have a larger head, headgear adjustment range is the binding constraint — helmets for large heads.
Gloves come next, and the important point is that there is no single welding glove. Thick insulated gloves for MIG, flux-core and stick let you rest a hand near the work, which improves gun control more than any machine setting. Thin kidskin TIG gloves let you feel filler rod, which is most of TIG technique — and offer almost no heat protection, so they are the wrong glove for a wire process. Gloves and jackets covers both.
A jacket matters most overhead and out of position, where spatter falls on you rather than away from you. A cotton shirt delays a burn; leather stops it.
A respirator is the item most often skipped and the one with the most serious long-term case for it. Welding fume is respirable metal particulate, and flux-core produces a great deal of it. Galvanized steel produces zinc oxide fume that causes an unpleasant flu-like illness within hours. Stainless introduces chromium and nickel compounds with much more serious long-term concerns, and OSHA regulates hexavalent chromium exposure specifically.
Two things must be said plainly rather than buried. A particulate respirator filters particles, not gases — it does not remove ozone or carbon monoxide, so ventilation is still required with one on. And a respirator only works with a proper seal against clean-shaven skin; facial hair defeats it, and a defeated respirator protects nothing while feeling like it does. Respirators and fume safety goes through this properly.
Best first helmet
The purchase that improves a beginner's welds fastest, and where spending more stops helping.
Our pick: Antra AH6-660
Best auto-darkening lens
Viewing area, optical clarity and low-amperage triggering, compared across four helmets.
Our pick: Lincoln Electric VIKING 3350
Reference
OSHA's minimum protective shades by process and arc current, and how to use them in practice.
Best at the entry end
What an entry-level helmet compromises, and the two specifications to insist on regardless.
Our pick: Antra AH6-660
Comparison
Why the nod that drops a passive hood handicaps a beginner, and where passive still wins.
Comparison
Shell depth, temple pressure and fogging — plus the cheater-lens alternative.
Comparison
Headgear adjustment, not shell size, decides the fit — and headgear is usually replaceable.
Guide
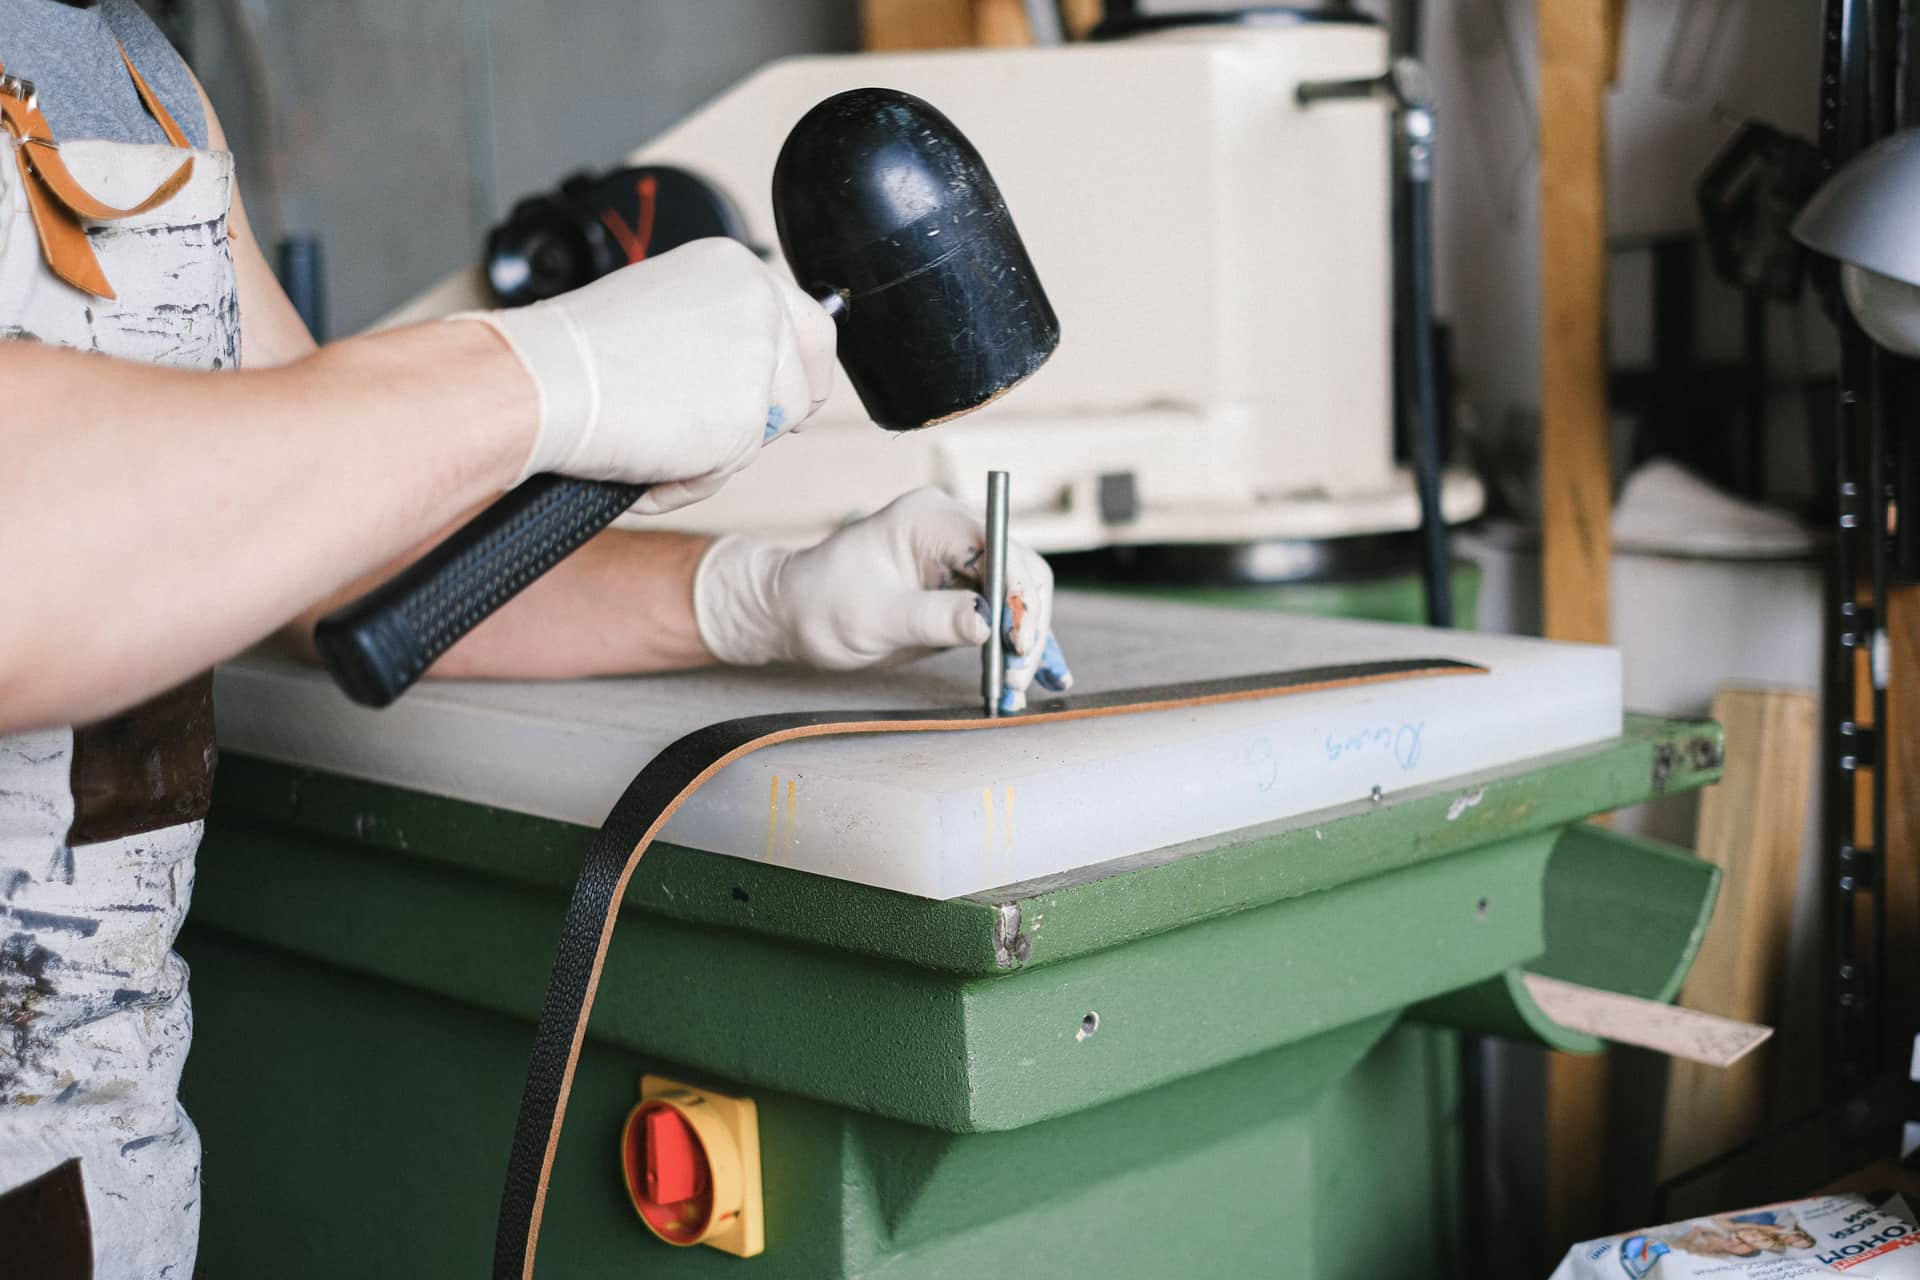
Why MIG gloves and TIG gloves are opposite tools, and when a leather jacket stops being optional.
Safety
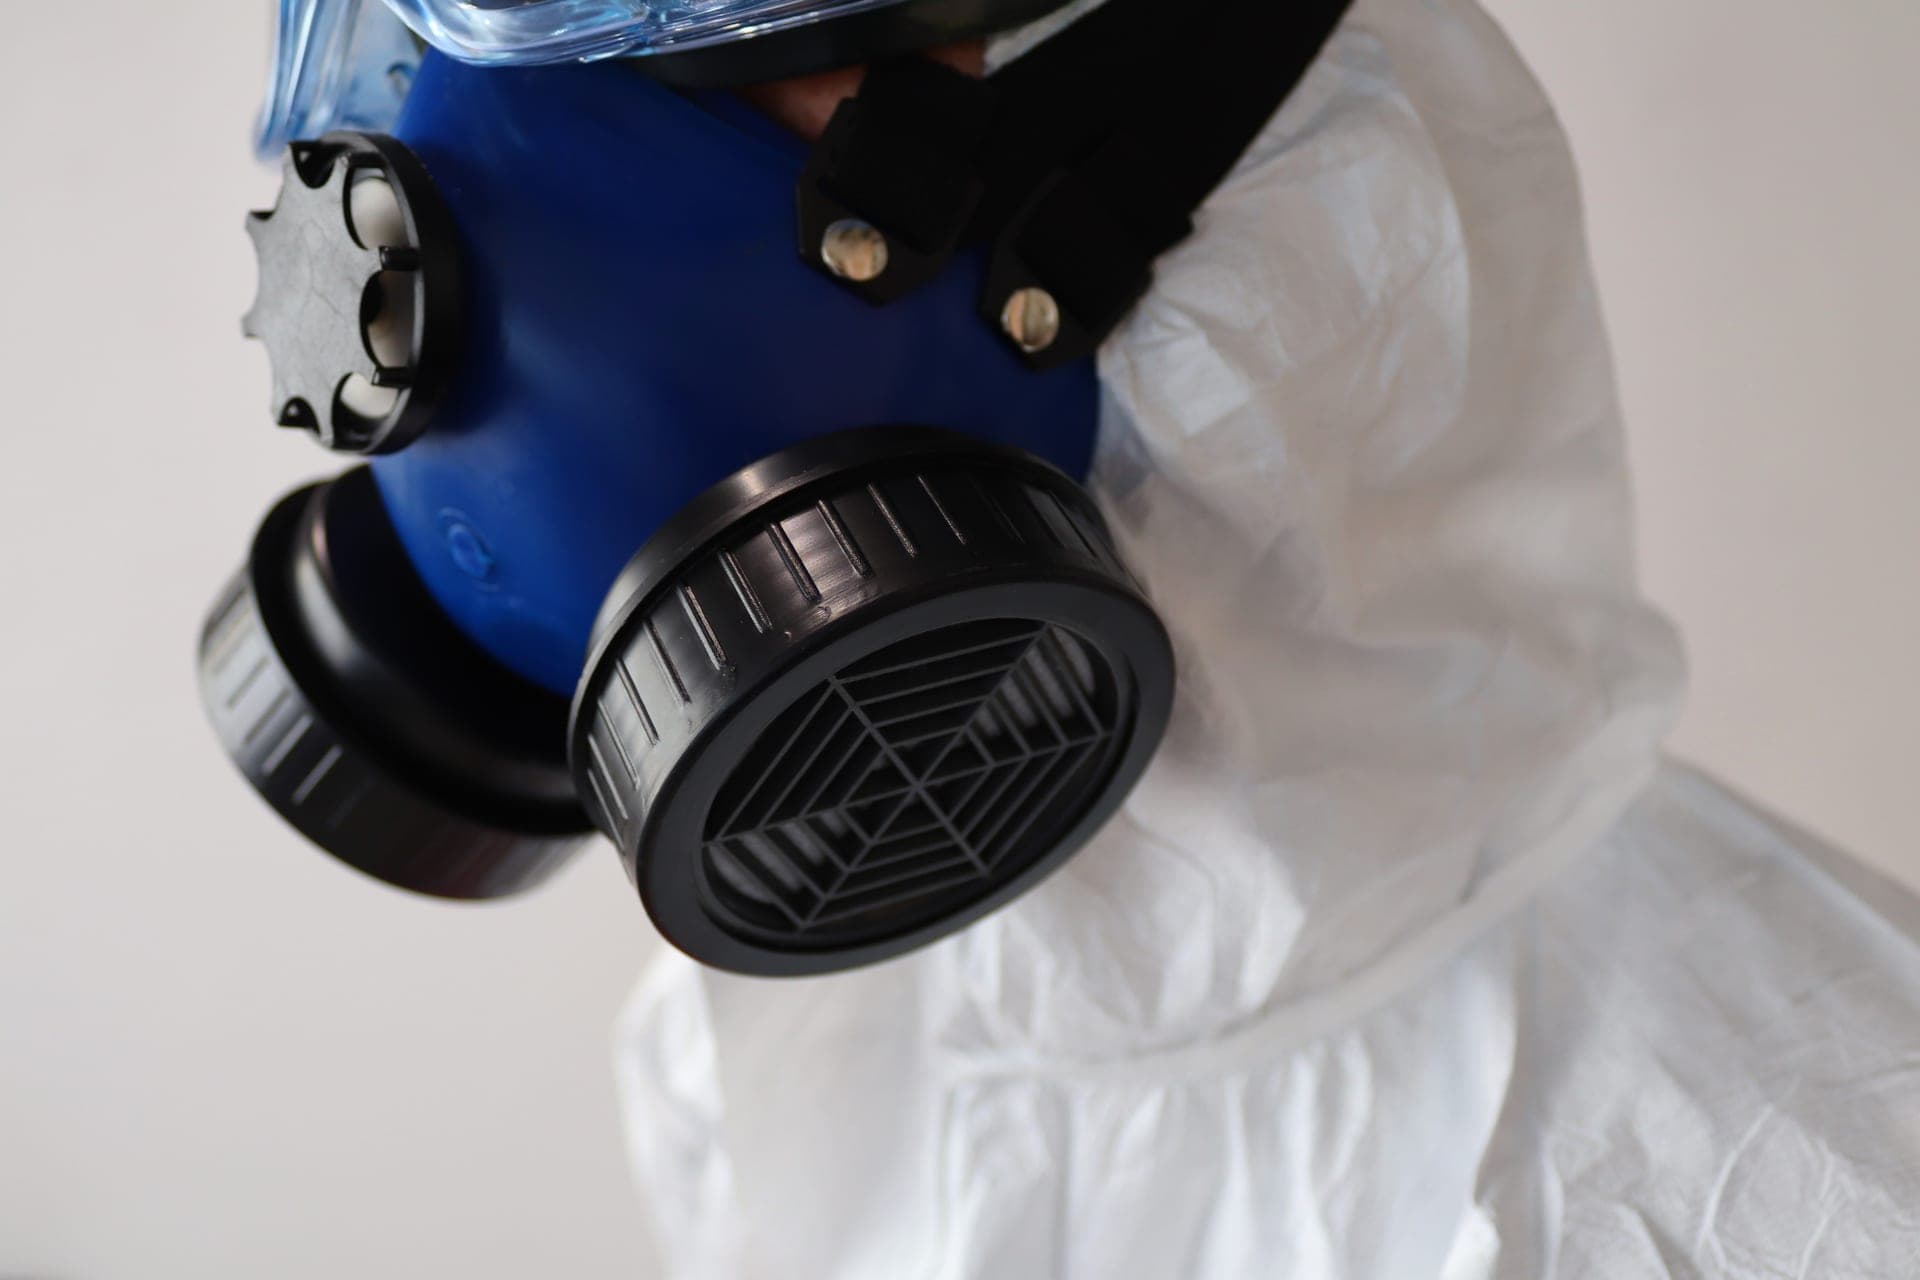
What is in welding fume, what a P100 filter does and does not remove, and when it is mandatory.
Gear you need at every level
What you can see and what you can plug in decide more than the machine does.
Not sure you are in the right place?
Four rungs, four machines, and an honest answer about which one is yours.
It depends on the process and the amperage, not on the helmet. Broadly, low-amperage TIG on thin material needs a lighter shade than high-amperage MIG or stick, and plasma cutting needs lighter still.
A variable-shade auto-darkening helmet covering roughly shade 9 to 13, with a light state around shade 3 or 4, handles essentially all home welding. Our shade chart gives the figures by process and amperage.
A helmet carrying a genuine ANSI Z87.1 marking provides the ultraviolet and infrared protection it claims even in its light state, because the filter's UV/IR blocking is built into the lens and does not depend on the electronics working.
What cheap helmets compromise is switching speed, optical clarity and reliable triggering at low amperage — comfort and results rather than fundamental eye safety. That said, buy from a supplier you can identify, because an unmarked helmet is an unknown.
Yes, and most helmets accommodate them, but shell depth varies a great deal. A shallow helmet presses the arms of your glasses into your temples over a long session and can push the lenses close enough to fog.
Look for a deep shell and generous headgear adjustment. Some welders instead fit magnifying cheater lenses inside the helmet and weld without their glasses.
Four scores, each from 1 to 3, where 1 is best: optical class, diffusion of light, variation in luminous transmittance, and angle dependence. A 1/1/1/1 lens has minimal distortion, haze, color shift and variation as you move your head.
Over a ten-minute weld the difference between 1/1/1/1 and a lower-rated lens shows up as eye fatigue rather than as an obvious visual defect.
A welding helmet protects your eyes and face. It does nothing about what you breathe.
Flux-core welding, galvanized steel and stainless all produce fume that genuinely warrants a respirator, and it should be worn under the helmet rather than instead of it. A particulate respirator also does not remove gases, so ventilation remains necessary either way.
Ryder M. is the hands-on owner behind Magoo Media Group. He writes Arc & Bead's buying guides and picks every machine on the site. What every recommendation is based on — and what it is not based on — is set out on How We Pick.