Welding helmet lens covers
The cheapest part of your helmet is the one that decides how good it looks through — and almost nobody replaces it often enough.
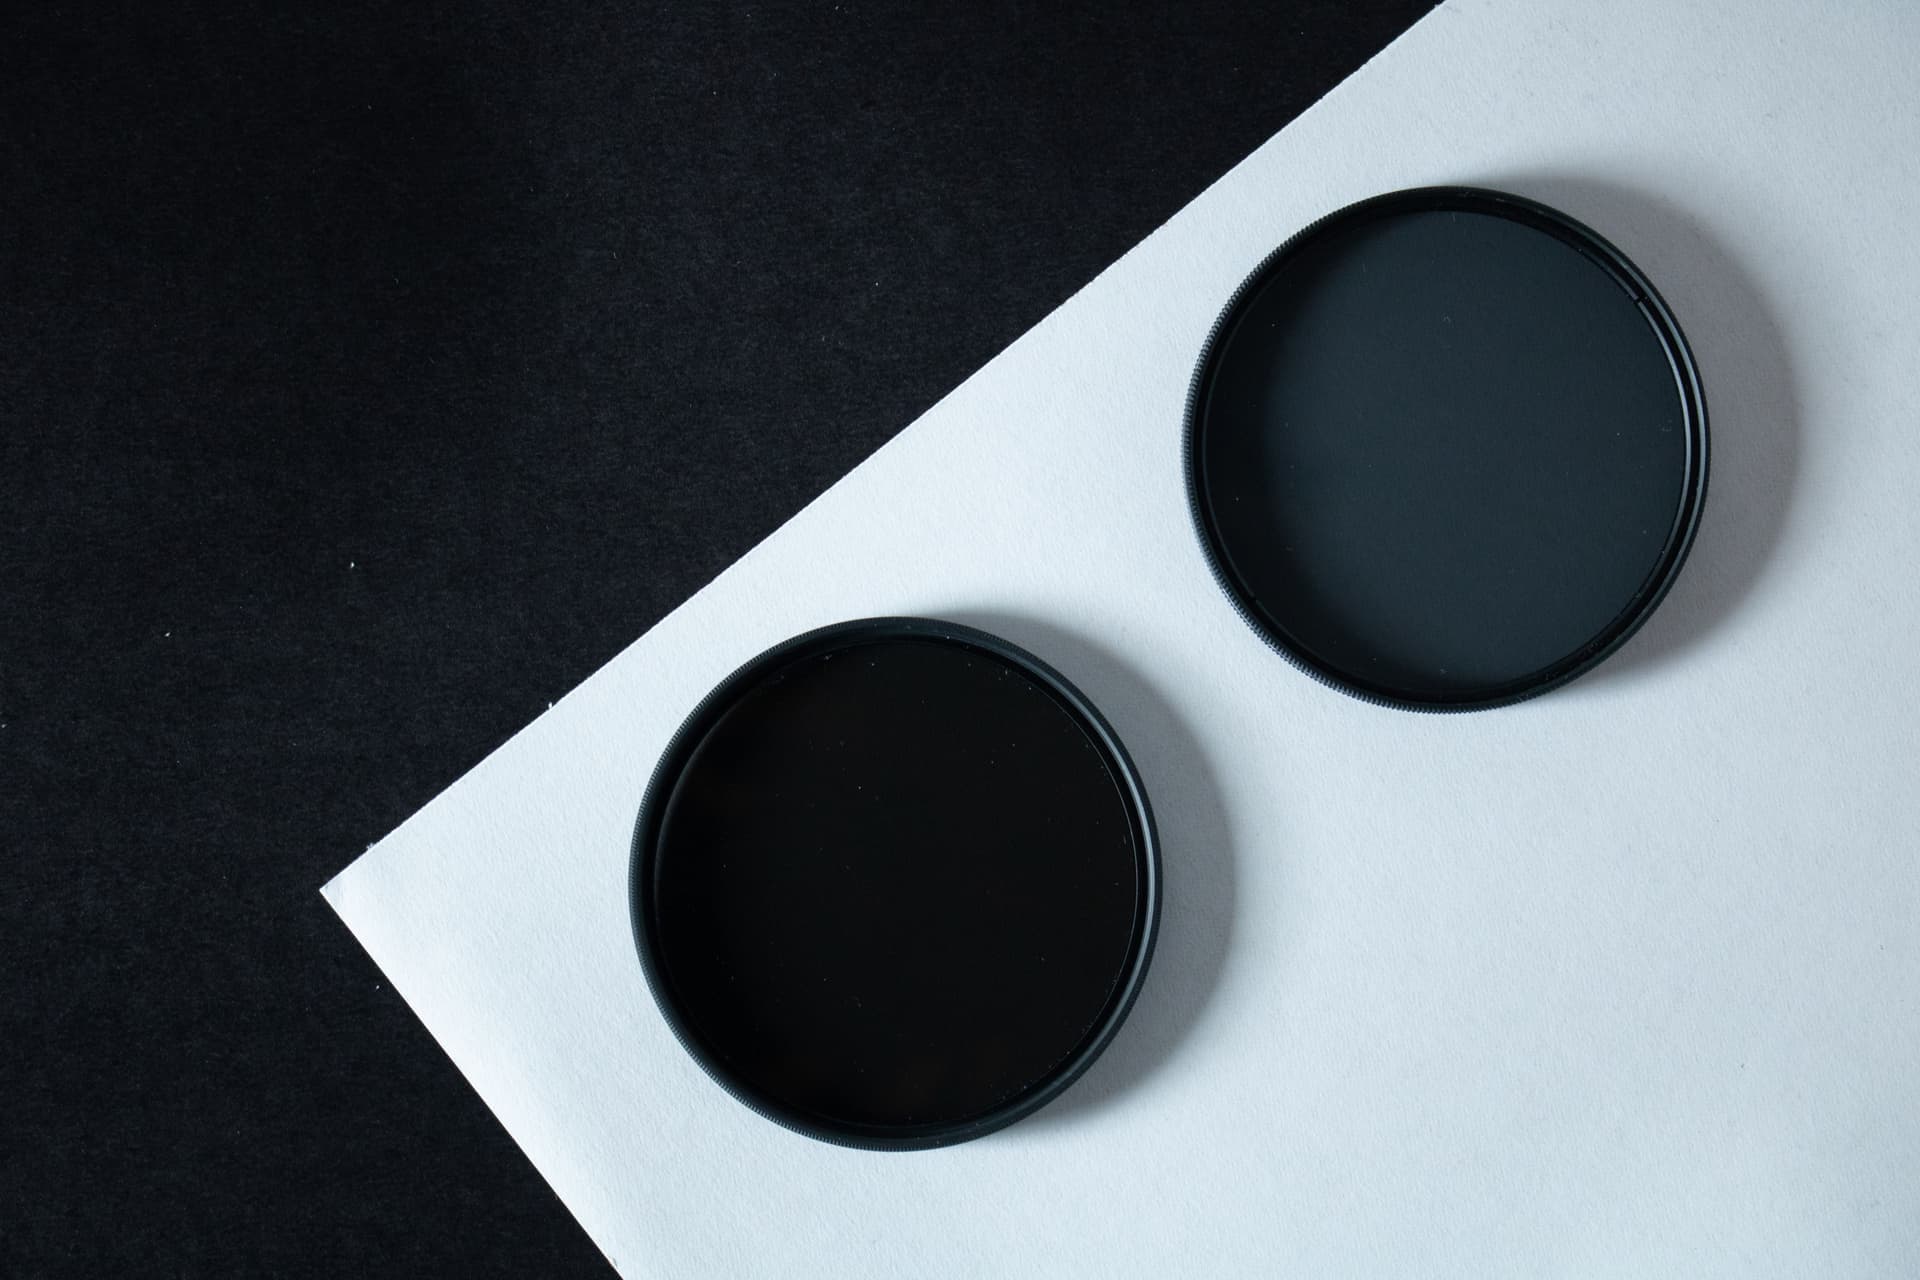
What a cover lens is, and why it matters
A cover lens is a thin clear plastic shield that sits in front of (and usually behind) the auto-darkening cartridge in your helmet. It is sacrificial: it takes the spatter, grinding grit and scratches so the cartridge does not. A pitted outer cover is the most common cause of a helmet that seems to have "lost its clarity", and replacing it costs a few dollars and takes about a minute.
This is the cheapest component in a welding helmet and the one with the largest effect on how the helmet feels to use. It is also the one nobody is told about, which is why helmet complaints at six months read like cartridge failures when they are almost never that.
There are usually two of them
Most auto-darkening helmets take an outer cover lens on the front of the cartridge and an inner cover lens behind it. They fail differently and people only ever notice the first.
The outer one takes spatter, grinding sparks and the scrapes that come from setting a hood face-down on a bench. It goes cloudy and pitted from the outside in, and this is the one to replace frequently.
The inner one gets scratched by fingers and cleaning cloths, and fogs from your own breath. It fails more slowly and is more often forgotten entirely — a surprising number of helmets in use have never had their inner cover changed.
Both are stated in your helmet's manual with a part number and usually a diagram. That manual is the authority for which sizes your shell takes, because cover lenses are not universal: they are cut to a specific shell, and a near-miss does not seal.
How to tell the cover is the problem
| Symptom | Cover lens? | What to do |
|---|---|---|
| Everything looks hazy or milky, in all modes | Almost certainly | Replace the outer cover, then the inner one |
| Visible pits, specks or scratches when you look at the lens in daylight | Yes, definitively | Replace the outer cover |
| Clear when dark, hazy in the light state | Usually | Replace both covers before suspecting the cartridge |
| Fogging that clears when you lift the hood | Inner cover, plus ventilation | Replace the inner cover; check the shell vents |
| Lens fails to darken, or flickers while welding | No | Check sensors for obstruction, then the battery |
| Lens darkens slowly, or stays dark | No | Cartridge or battery; check the manual's fault guidance |
| A crack through the lens assembly | Possibly the cover, possibly not | Stop using the helmet until you have identified which |
A cracked cover lens is a safety matter, not a cosmetic one
The cover lens is part of the impact protection the helmet is certified with under ANSI Z87.1. A cracked or missing cover leaves the cartridge exposed to impact it was never rated to take on its own. Replace it before the next session rather than at the weekend.
How often to replace them
More often than you are, and the honest answer is condition-based rather than calendar-based.
Hold the helmet up to a window and look at the cover rather than through it. If you can see pits, specks or a general haze, it is due. That is a ten-second check and it is worth doing at the start of every session, because the degradation is gradual enough that your eyes adapt to it without noticing.
Process changes the rate dramatically. Flux-core and stick throw spatter continuously and will chew covers quickly — see flux-core welding spatter. Gas MIG is gentler. TIG is gentlest of all, and a TIG-only helmet may go a very long time on one cover. Grinding is harder on a cover than any welding process, which is the real argument for a grind mode and a hood you keep down.
Buy them in multi-packs and keep the stack in the drawer. The reason people run pitted covers is never cost, it is not having one to hand.
Replacing one, in practice
The method varies by shell and your manual has the specific sequence, but the pattern is consistent: remove the cartridge retaining frame or clips from inside the shell, lift the cartridge out, peel the cover off the front, drop the new one in, reassemble.
Three things that go wrong:
Leaving the protective film on. New cover lenses often ship with thin film on one or both faces. Peel both. A film left on looks exactly like the haze you were trying to fix.
Getting fingerprints on the cartridge. Handle it by the edges. Oil on a cartridge face is not something a cover lens protects you from afterwards.
Forcing a near-fit. Cover lenses are shell-specific. A cover that needs persuading is the wrong part, and a cover that does not seat properly lets grit in behind itself — which is worse than the pitted one you removed.
Why this belongs in a buying decision
Here is the part that makes this more than a maintenance note. When you choose a helmet, you are also choosing a consumable supply chain for as long as you own it.
Are cover lenses stocked where you shop? A widely sold helmet family has covers on the shelf. An obscure import may need a specific online order every time, and that friction is what stops people replacing them.
Do listings state the part clearly? Ambiguous or inconsistent cover-lens listings are a known problem at the budget end, and a helmet whose spares you cannot identify confidently is a helmet you will eventually run with a bad cover.
Has the shell been superseded? A model that replaced an earlier one — the ESAB A60 over the A50, for instance — has older accessory information floating around for the wrong shell. Confirm against the current model.
Is there a grind mode? It is a cover-lens feature as much as a convenience one. Grinding with the hood down keeps grit off the cover; grinding with it up puts the grit straight onto the lens you just paid for.
The best welding helmets for the money is where to go for the broader purchase, and the auto-darkening lens guide covers the cartridge behind the cover.
What we would buy
Arc & Bead is an Amazon Associate. If you buy through a link on this page we may earn a commission, at no extra cost to you. We have not physically tested the machines on this page and we say so on How We Pick.
1. Best-supported spares
Lincoln Electric VIKING 3350
12.5 sq in at 1/1/1/1 behind a cover lens that is one of the most widely stocked in the category.
Lincoln publishes 12.5 square inches of viewing area at a full 1/1/1/1 optical class, with the 4C lens and X6 headgear, variable shade 5 to 13 and a low-profile external grind button.
On a cover-lens page the relevant point is not the optics — it is the ecosystem. The VIKING line is one of the most widely sold helmet families there is, which means its cover lenses are stocked by every welding supplier and most general retailers. You will not be hunting a part number in six months.
That matters more than it sounds, because the failure mode this page is about is behavioural. People stop replacing cover lenses when replacements become inconvenient to get, and then conclude the helmet has gone off.
The external grind button is a quiet contributor too: grinding with the hood down in grind mode is what keeps grinding grit off the cover lens, instead of lifting the hood and sand-blasting it.
What works
- 12.5 sq in of view at 1/1/1/1 clarity is the combination that makes a helmet stop being something you tolerate
- The external grind button means you switch modes without lifting the hood — the single feature you notice most every day
- Shade 5 low end covers plasma cutting, so one helmet spans all four levels
What does not
- Costs several times a budget auto-darkening helmet
- Physically large, and in a tight corner the shell finds things to bump into
2. Cheapest to keep fresh
Antra DP3-6404
A 2-amp rating and ANSI Z87.1 on a helmet where a pack of cover lenses costs a fraction of the hood itself.
Antra publishes a true-color lens with a 3/5 to 13 shade range and shade lock, a DC TIG rating down to 2 amps, a quick grind button and ANSI Z87.1 compliance, with solar plus battery power.
Cheap hood, cheap covers. That combination is genuinely an advantage for a reason this page keeps returning to: the correct replacement interval is "often", and anything that makes often feel expensive gets skipped. A multi-pack of covers for a hood like this is a trivial purchase, and keeping a stack in the drawer is the single easiest way to make a budget helmet feel good for years.
The headgear is the known weak point, and the optical class is not published — both are reasons this is a first helmet rather than a last one.
What works
- A published 2 A TIG rating at the bottom of the market, where the usual answer is no rating at all
- Shade 5 low end covers plasma cutting, so one cheap helmet spans more than MIG
- Quick grind/weld button and shade lock — two things that are normally the first upgrade
- Cheap enough that starting here and upgrading later costs less than agonizing over it
What does not
- Antra does not publish a 1/1/1/1 optical class for it, and over a long session you can feel the difference
- Headgear is the weak point on budget helmets generally, and this one is no exception
- A small shell: next to a VIKING 3350 the view is noticeably tighter
3. The one to check before you buy
ESAB Sentinel A60
13.02 sq in at 1/1/1/1 with half-shade steps — a premium cartridge that makes cover-lens discipline matter more, not less.
ESAB publishes a 4.65 by 2.80 inch window (13.02 square inches), a 1/1/1/1 optical class, four arc sensors, a 0.08 millisecond switching speed, a DC TIG rating down to 2 amps, nine memory settings, an external grind button and adjustable Halo headgear, with shade 3/5 to 13 in half-step increments and a shade lock.
It is on this page as the illustrative case. A premium 1/1/1/1 cartridge is exactly the one whose quality a scratched cover lens throws away — you cannot see through a defect to appreciate the optics behind it. The better the cartridge, the more the cover lens is the limiting component.
It is also the model where the spares question deserves a check before purchase. The A60 replaces the outgoing Sentinel A50 and the two shells are materially different, so older accessory guides and listings may describe covers for the wrong one. Confirm the part against the A60 specifically.
What works
- Published DC TIG rating down to 2 A — the one specification that decides whether a helmet is usable on thin stainless
- 13.02 sq in at a full 1/1/1/1 optical class, which is a combination almost nothing else offers
- Half-shade increments and shade lock let you settle on an exact shade rather than jumping between whole numbers
- External grind button, so switching modes does not mean lifting the hood and losing your torch position
What does not
- The most expensive helmet on this site apart from the Miller, and much of what it adds over a VIKING 3350 is refinement
- Nine memory settings is more configuration than a home shop running one or two processes will ever use
- Replaces the outgoing Sentinel A50, so older reviews and accessory guides may not match this shell
Who this is wrong for: Anyone who will not replace cover lenses. A 1/1/1/1 cartridge behind a pitted cover is money spent on clarity you cannot see.
Questions people actually ask
What is a welding helmet lens cover?
A thin clear plastic shield that sits in front of - and usually also behind - the auto-darkening cartridge in your helmet. It is sacrificial: it takes the spatter, grinding grit and scratches so the cartridge does not.
Most helmets take both an outer and an inner cover, and the inner one is the one people forget exists.
How often should you replace a welding helmet cover lens?
Condition-based rather than on a schedule. Hold the helmet up to a window and look at the cover instead of through it - if you can see pits, specks or haze, it is due.
Flux-core and stick chew through covers quickly because they throw spatter continuously. TIG is gentle on them, and grinding is harder on a cover than any welding process.
Why has my welding helmet lost its clarity?
Almost always a pitted outer cover lens rather than a failing cartridge. The degradation is gradual enough that your eyes adapt to it, so it reads as the helmet going off.
Replace the outer cover first, then the inner one. It costs a few dollars and takes about a minute, and it is the first thing to try before suspecting anything expensive.
Are welding helmet cover lenses universal?
No. They are cut to a specific shell, and a near-fit does not seal - which lets grit in behind the cover, making things worse than the pitted one you removed.
Your helmet's manual carries the correct part number and sizes. Check it rather than buying on appearance.
Can you weld with a cracked cover lens?
No. The cover lens is part of the impact protection the helmet is certified with under ANSI Z87.1, so a cracked or missing cover leaves the cartridge exposed to impact it was never rated to take alone.
This is a safety matter rather than a cosmetic one. Replace it before the next session.
Why is my new cover lens still hazy?
Check for protective film. New covers often ship with a thin film on one or both faces, and a film left in place looks exactly like the haze you were trying to fix.
Peel both sides, and handle the cartridge by its edges while you are in there - fingerprints on the cartridge face are not something a cover protects you from afterwards.
Does a grind mode help protect the cover lens?
Yes, and it is an underrated reason to want one. Grinding throws far more abrasive material at a lens than welding does.
With a grind mode you keep the hood down and the cover takes nothing it was not already taking. Without one you lift the hood and grind grit straight onto the lens.
Sources
- Lincoln Electric — VIKING 3350 published specifications and replacement cover lens information
- ESAB — Sentinel A60 (0700600860) published specifications: 13.02 sq in, 1/1/1/1, 4 sensors, 1/25,000 s, half-shade steps
- Antra — DP3-6404 published specifications: 3/5–13 shade range with shade lock, 2 A DC TIG rating, ANSI Z87.1
- ANSI/ISEA Z87.1 — occupational and educational personal eye and face protection, including impact requirements for complete devices
- Your helmet's own manual, which is the authority for its spare part numbers and sizes
Read next
- The best auto-darkening welding lens, and how to read the specs
The cartridge is the helmet. Optical class, switching speed, sensors and trigger amperage, explained.
- The best welding helmets for the money
Where the price curve flattens, the four specifications you pay for, and what wins at each point.
- Best welding helmets for flux-core welding
Chosen on sensor count, cover-lens cost and a shade range that fits flux-core amperage, not TIG's.
- Auto-darkening welding helmet reviews
All seven auto-darkening helmets we cover, reviewed on published specs, with a skip-it reason on each.
- Welding helmet shade chart
OSHA's minimum protective shades by process and arc current, and how to use them in practice.
- Helmets and PPE: the gear that decides what you can see
Every level needs a helmet. What the right helmet is changes as the level changes — and a bad one is the most common reason a beginner's welds look worse than their technique.
Back to Helmets & PPE, or start over at Find Your Level.
Ryder M.
Ryder M. is the hands-on owner behind Magoo Media Group. He writes Arc & Bead's buying guides and picks every machine on the site. What every recommendation is based on — and what it is not based on — is set out on How We Pick.