Plasma cutting for beginners
Plasma is much easier to learn than welding. Almost everything that goes wrong comes down to air, speed or standoff.
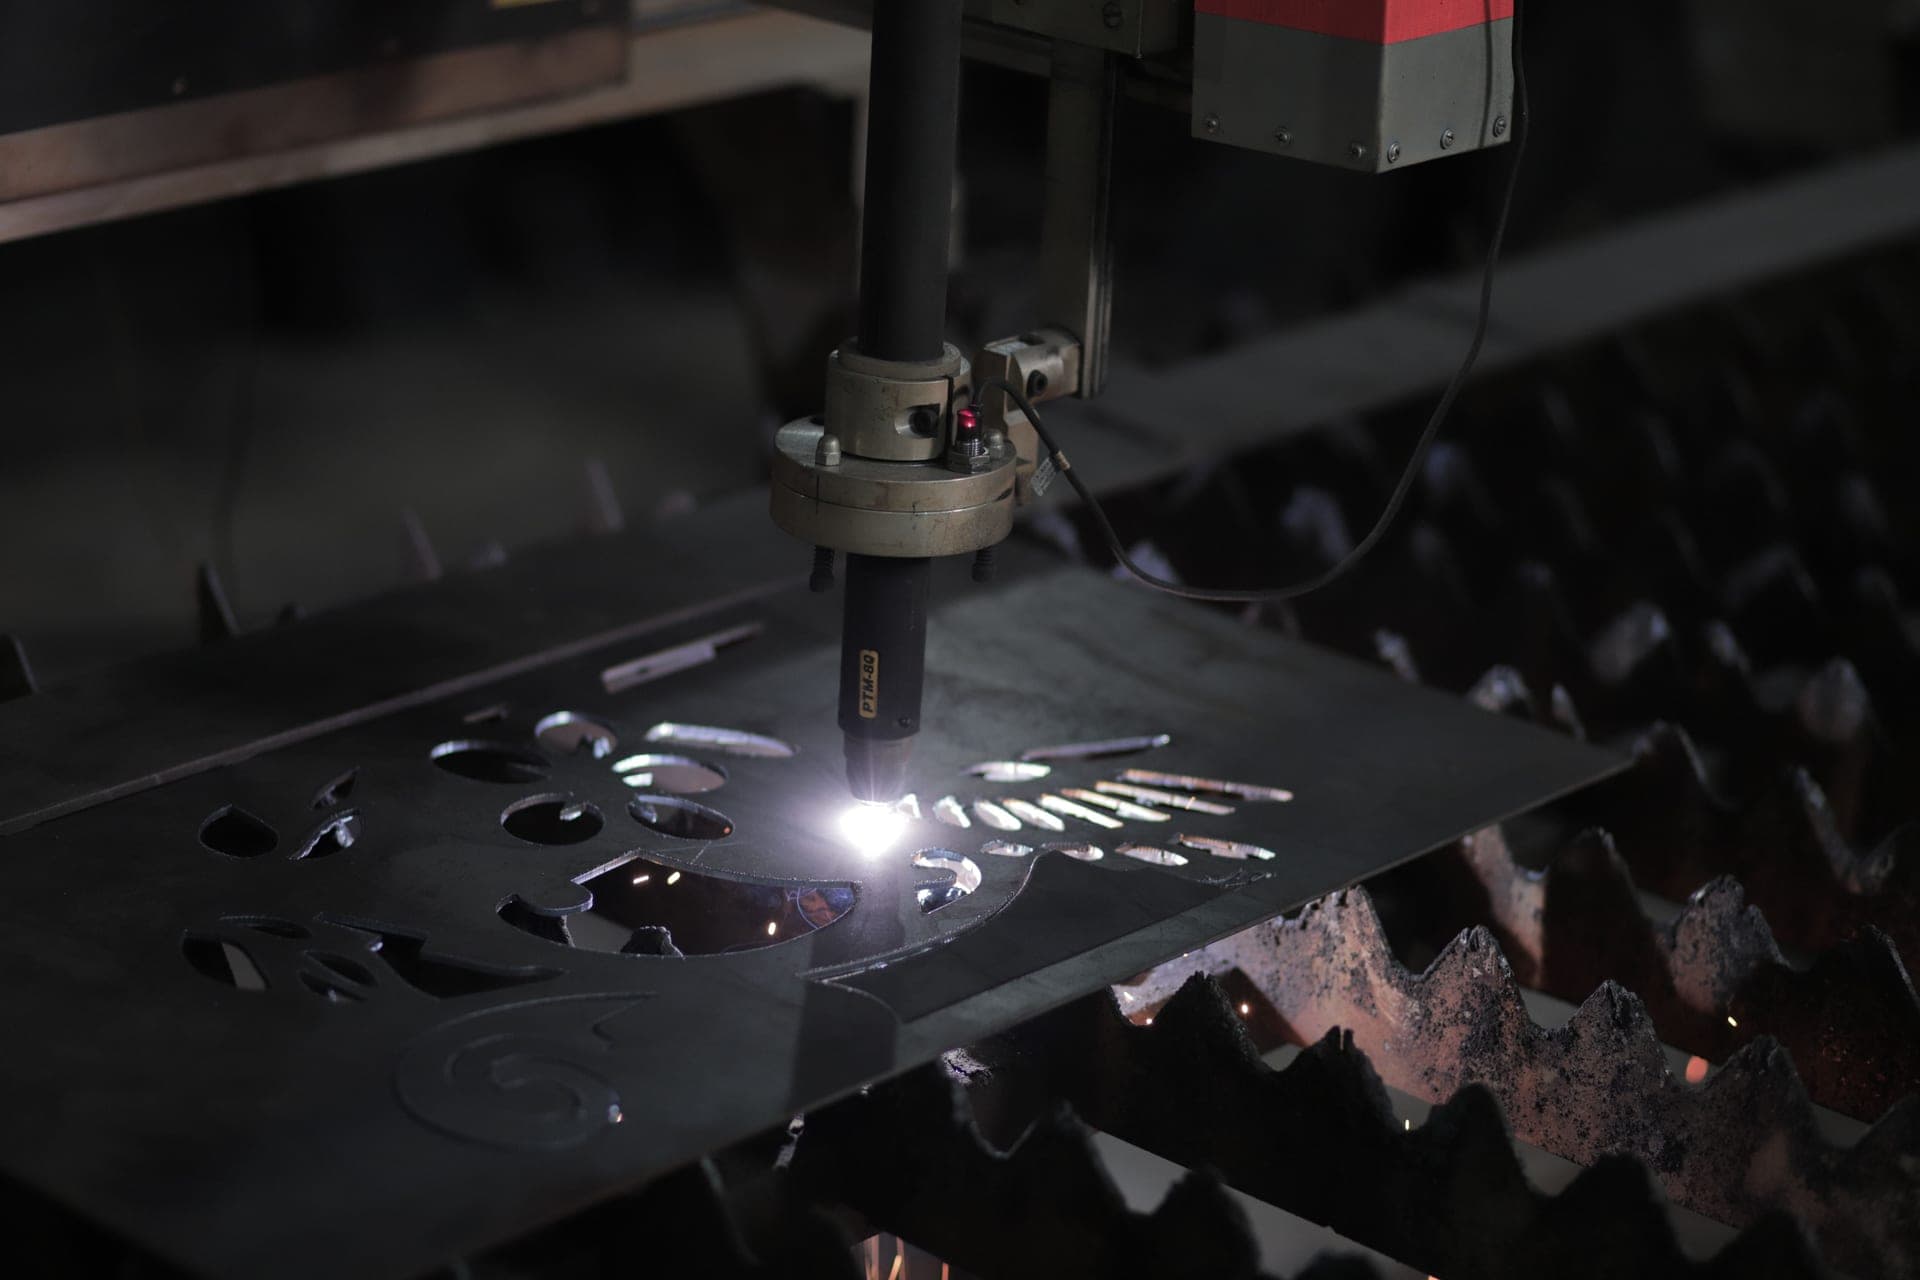
The three things that decide a cut
Air — enough volume, at the right pressure, and dry. Travel speed — fast enough that the arc stays ahead of the molten metal, slow enough to cut through. Standoff — a consistent distance between the tip and the work. Nearly every poor cut a beginner makes is one of these three.
What is actually happening
Compressed air is forced through a small nozzle and an electric arc. The arc ionizes the air into plasma — hot enough to melt steel — and the air flow is fast enough to blow the molten metal out of the cut.
Two consequences follow, and they explain most of this page. The air is doing half the work, which is why an under-supplied machine cuts badly. And the metal has to be conductive, which is why plasma cuts aluminum and stainless as well as steel — unlike oxy-fuel, which only works on ferrous material.
Setting up
Air pressure to the machine's stated figure, measured while cutting rather than at rest. Pressure drops under flow, and a gauge reading taken with the trigger released tells you very little.
A water separator between the compressor and the machine. Non-negotiable: moisture in the plasma stream destroys consumables quickly and produces a ragged cut.
Amperage to suit the thickness. Most machines have a simple dial, and the manual gives a starting point per thickness.
The work clamp directly on the workpiece, not on a bench it is sitting on. A poor return path produces an unstable arc and a wandering cut.
Standoff and drag tips
Standoff is the distance from the tip to the work, and holding it consistently by hand is harder than it sounds — which is exactly why drag tips exist.
A drag tip has a shield that lets you rest the tip directly on the metal and drag it along. The tip geometry maintains the correct standoff internally. For a beginner this removes one of the three main variables entirely, and it is the single biggest improvement to early cut quality.
A standoff tip requires you to hold a gap, usually around an eighth of an inch. It gives slightly better consumable life and slightly cleaner cuts once you are consistent, and it is worth moving to later.
Start with a drag tip. Move to standoff when your cuts are already good.
Travel speed, and how to read it
The best indicator is the sparks coming out of the underside of the cut.
Sparks blowing straight down and slightly behind you — correct speed. The arc is cutting all the way through and the air is clearing the kerf.
Sparks blowing back up at you — too fast. The arc is not penetrating, and the molten metal is coming back up the top of the cut rather than out of the bottom.
Very few sparks, and a slow noisy cut — too slow. You are melting rather than cutting, and leaving dross on the underside.
Watch the sparks, not the cut line. The sparks tell you what is happening underneath, which is where the cut is actually being made.
Piercing
Starting a cut in the middle of a sheet rather than at an edge, which is how you cut a hole.
The technique matters: angle the torch at about 45 degrees so molten metal blows away from the tip rather than straight back at it, then rotate upright as it pierces through. Piercing vertically blows molten metal directly onto the tip and destroys it quickly.
Every machine has a maximum pierce thickness lower than its cut thickness. Piercing is harder on the consumables than edge starting, which is why production work drills a start hole on thicker material.
Straight lines and curves
Freehand straight lines are difficult, and there is no shame in not trying.
A straight edge clamped to the work as a guide gives a genuinely straight cut. A magnetic guide does the same without clamping. For circles, a circle-cutting attachment pivots the torch around a magnetic center — a cheap accessory that turns a difficult freehand job into a routine one.
Curves are where plasma earns its place over an angle grinder. Mark the line clearly with soapstone or a marker, and cut just outside it so you can clean back to the line.
Reading a bad cut
| What you see | Most likely cause | What to change |
|---|---|---|
| Heavy dross on the underside | Traveling too slowly, or insufficient air | Speed up; check air volume and pressure while cutting |
| Sparks blowing back at you | Traveling too fast | Slow down — the arc is not penetrating |
| Arc keeps going out | Air supply dropping, or worn consumables | Check the compressor keeps up; replace tip and electrode |
| Bevelled rather than square edge | Torch not held perpendicular, or a worn tip | Hold the torch square to the work; replace the tip |
| Wide, ragged kerf | Standoff too great, or worn tip | Use a drag tip, or hold a consistent gap; replace consumables |
| Will not start on painted or rusty metal | Touch-start machine, or no pilot arc | Grind a clean spot for the work clamp and the start point |
| Consumables wearing out fast | Wet air, piercing vertically, or wrong standoff | Fit a water separator; pierce at 45 degrees; use drag tips |
Safety, and the two things people underestimate
Fume. Plasma cutting galvanized steel releases zinc oxide, which causes a flu-like illness some hours later. Serious ventilation and a respirator, not an open door — respirators and fume safety.
Sparks travel. Plasma throws molten metal much further than welding does, regularly ten feet or more, and it rolls. Clear the area rather than moving things aside, and keep an extinguisher within reach.
Why plasma is easier than welding
Worth saying at the end, because people arrive at Level 4 expecting it to be the hardest rung.
Welding asks you to create something — a sound fusion between two pieces, which can fail invisibly. Cutting asks you to remove material, and you can see immediately whether it worked.
Most people produce an acceptable plasma cut within their first hour. The skill is in consistency, in cutting to a line, and in not destroying consumables — not in the cut itself.
What we would buy
1. The machine to learn on
Lotos LTP5000D
Pilot arc and a built-in regulator, so two variables are handled for you.
For learning, a pilot arc removes an entire category of frustration — the machine starts on painted and rusty material instead of stalling, so you learn technique rather than learning to fight arc initiation.
Lotos publishes 10 to 50 amps on 220/240 volts, a 5/8 inch ideal clean cut, non-touch pilot arc and a built-in pressure regulator.
You still need to supply clean dry air, which is the one thing this page returns to repeatedly.
What works
- Pilot arc means it will start on painted, rusty or galvanized material where a touch-start machine stalls
- 5/8 in clean cut on 240 V is more capacity than most home shops will ever use
- Dual voltage with a switch rather than a different machine
What does not
- You must supply clean dry air. A small pancake compressor will not keep up, and wet air destroys consumables fast
- On a 110 V outlet you lose a third of the output and half the thickness
- Consumable life is noticeably shorter than Hypertherm's, and the running cost shows it
2. The simplest possible start
Hypertherm Powermax30 AIR
No compressor, no hose, no water separator — one plug and go.
If you are learning and the air setup is the obstacle, an internal compressor removes it entirely. Hypertherm publishes a built-in compressor, Auto-Voltage on 120 or 240 volts, a 5/16 inch recommended cut and under 30 pounds.
Because the air supply is matched to the torch by design, you cannot under-supply it — which eliminates the single most common cause of poor cuts for a beginner.
What works
- The internal compressor removes the hidden second purchase that sinks most first plasma buys
- Auto-Voltage means it works on a 120 V outlet today and a 240 V circuit later with no switch
- Hypertherm consumables are stocked everywhere and last markedly longer than budget equivalents
What does not
- Costs multiples of a budget 50 A machine while cutting thinner material
- 30 A is a genuine ceiling: 5/8 in severance is the limit, not a working thickness
- The internal compressor has a duty cycle of its own — sustained cutting needs pauses
3. The eye protection that covers plasma
Lincoln Electric VIKING 3350
Shade 5 to 13, which includes the lighter shades plasma cutting needs.
Plasma cutting needs a lighter shade than arc welding at similar currents — OSHA's minimum for light plasma cutting under 300 amps is shade 8, against shade 10 for MIG at 60 to 160 amps.
A helmet whose range stops at 9 is awkward for plasma work because its lightest dark state is darker than you want. Lincoln publishes a variable 5 to 13 range with 12.5 square inches of view and 1/1/1/1 clarity.
What works
- 12.5 sq in of view at 1/1/1/1 clarity is the combination that makes a helmet stop being something you tolerate
- The external grind button means you switch modes without lifting the hood — the single feature you notice most every day
- Shade 5 low end covers plasma cutting, so one helmet spans all four levels
What does not
- Costs several times a budget auto-darkening helmet
- Physically large, and in a tight corner the shell finds things to bump into
Questions people actually ask
Why is my plasma cut leaving dross?
Usually traveling too slowly, or insufficient air. Watch the sparks: they should blow straight down and slightly behind you.
If very few sparks come out of the underside, you are melting rather than cutting. Speed up, and check that the compressor sustains the machine's stated CFM while cutting.
What is a drag tip?
A tip with a shield that lets you rest it directly on the metal and drag it along, maintaining the correct standoff internally.
For a beginner it removes one of the three main variables and is the single biggest improvement to early cut quality.
How do I pierce a hole with a plasma cutter?
Angle the torch at about 45 degrees so molten metal blows away from the tip, then rotate upright as it pierces through.
Piercing vertically blows molten metal straight back onto the tip and destroys it quickly. Every machine also has a maximum pierce thickness lower than its cut thickness.
How do I cut a straight line?
Clamp a straight edge to the work and run the torch along it, or use a magnetic guide.
Freehand straight lines are genuinely difficult. For circles, a circle-cutting attachment pivots the torch around a magnetic center and turns a hard job into a routine one.
Is plasma cutting hard to learn?
Much easier than welding. Most people produce an acceptable cut within their first hour, because you can see immediately whether it worked — unlike a weld, which can fail invisibly.
The skill is in consistency, cutting to a line, and not destroying consumables.
Sources
Read next
- Plasma cutter air requirements
How to read CFM and PSI, why tank size is not the answer, and what a compressor must sustain.
- Plasma cutter cut thickness chart
Recommended versus severance capacity by amperage, and what you lose on a 110V outlet.
- The best plasma cutters for home use
Home-shop machines, why the compressor is the real purchase, and how to read cut-capacity numbers.
- Welding helmet shade chart
OSHA's minimum protective shades by process and arc current, and how to use them in practice.
- Level 4 · Plasma: cutting as accurately as you weld
The only rung on this ladder that is about shaping metal rather than joining it — and the one where the machine is the smaller half of the purchase.
Back to Level 4 · Plasma, or start over at Find Your Level.
Ryder M.
Ryder M. is the hands-on owner behind Magoo Media Group. He writes Arc & Bead's buying guides and picks every machine on the site. What every recommendation is based on — and what it is not based on — is set out on How We Pick.