How to get good TIG welds
When the amperage is right and the bead still looks wrong, it is almost always one of five things — and the first one is free to fix.
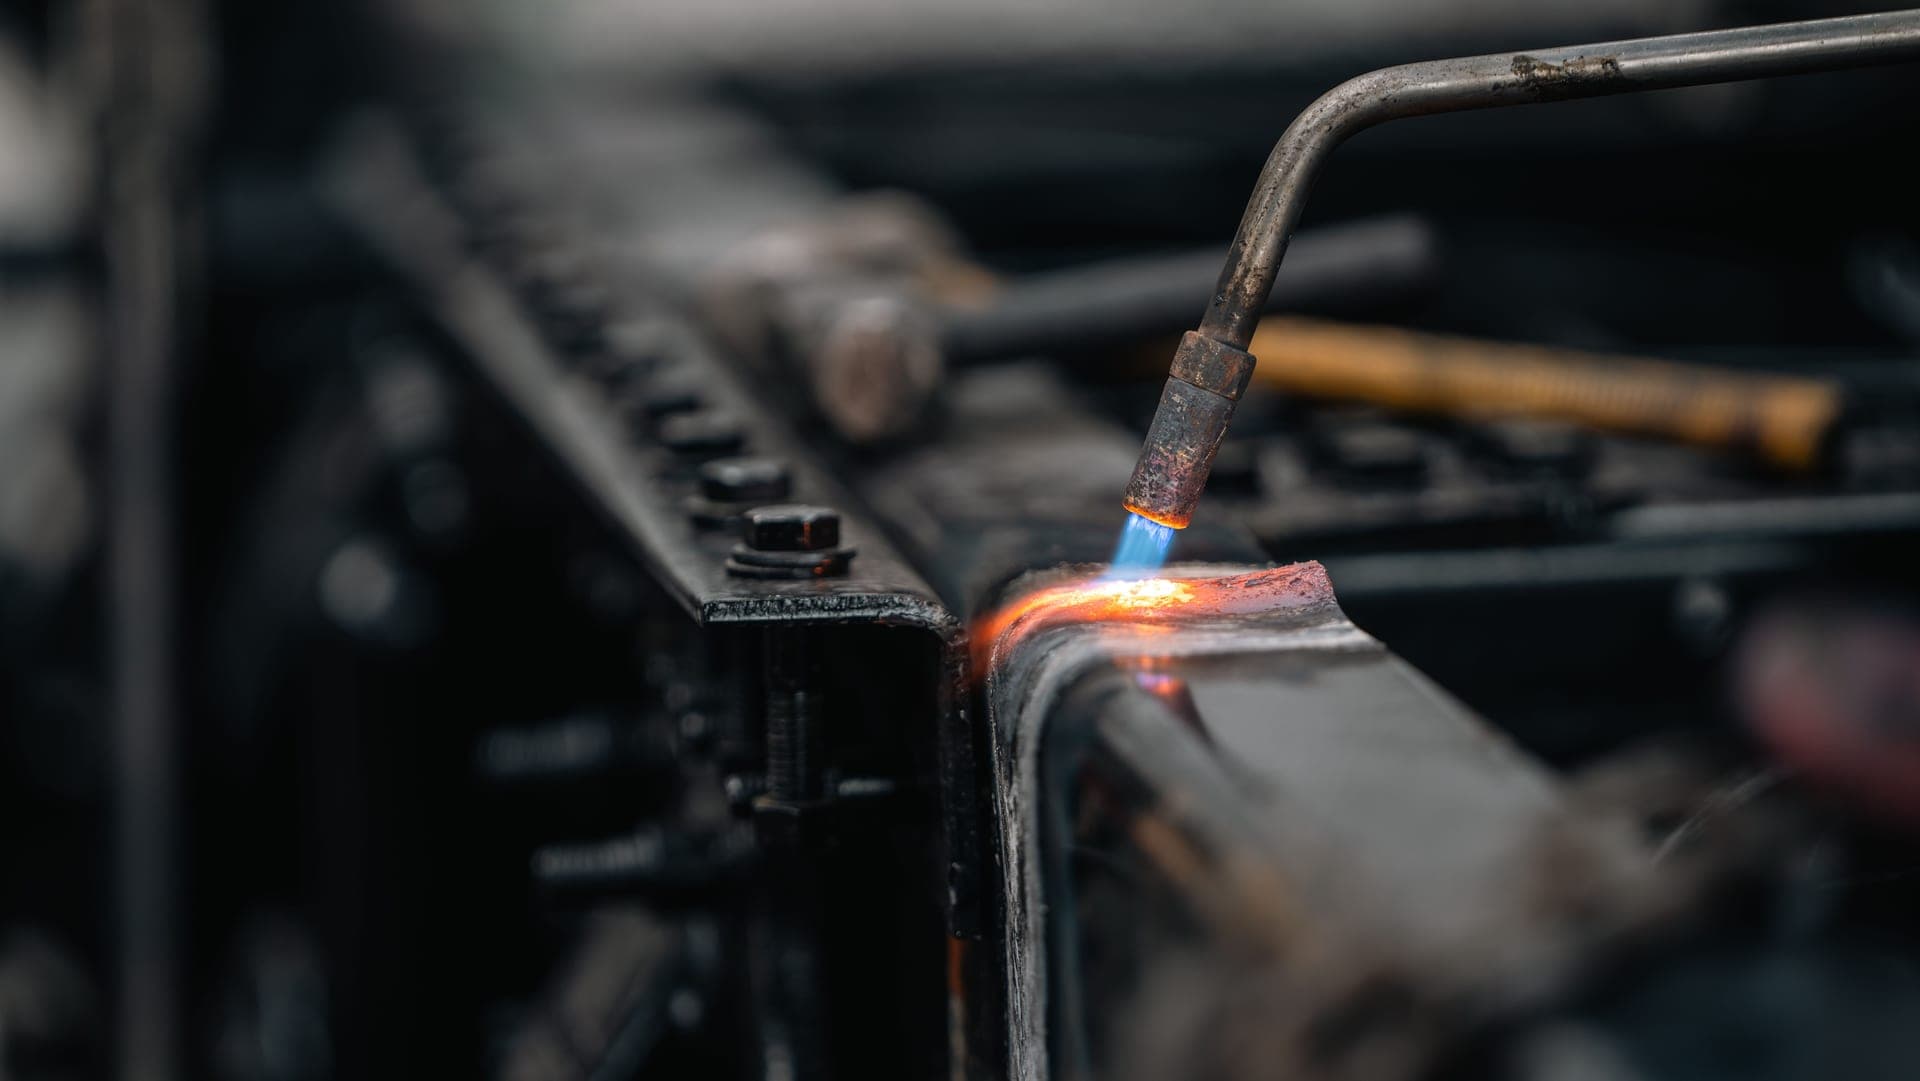
What makes a good TIG weld?
Five variables, and amperage is only one of them. In the order they go wrong: 1. tungsten preparation — a clean electrode, correctly ground, not contaminated. 2. base metal cleanliness — bare, degreased, oxide removed. 3. torch and filler angle — roughly 15 degrees travel angle, arc length about equal to the electrode diameter, rod fed at the leading edge. 4. pedal control — ramp in, hold, taper out. 5. gas coverage — correct flow and cup size, plus post-flow. A good bead is evenly rippled, bright, and the same width the whole way along.
This page is for a specific moment: you have the amperage from the settings chart, the machine is set the way the chart says, and the bead still comes out wrong. That is not a settings problem, and it is the most common place people get stuck on TIG.
The ordering below matters. Work top to bottom and stop at the first thing that is wrong, because each variable masks the ones under it — you cannot judge your torch angle through a contaminated tungsten, and you cannot judge your pedal control through a dirty joint.
One honesty note before any of it: Arc & Bead has not welded these joints. What follows is conventional published practice, with the standards and manufacturer guidance named at the bottom of the page. It is not a report of a test we ran.
1. Tungsten preparation — the one people change last
A TIG arc is directional because the electrode tip is a shape. Ruin the shape and the arc stops pointing where you aim it, which reads as a machine problem and is not one.
Grind it lengthways, not across. Grinding marks should run along the electrode toward the tip, not around it. Transverse marks give the arc a spiral path to follow and it wanders.
Use a wheel kept for tungsten only. This is the single biggest avoidable mistake. A wheel that has touched steel embeds particles in the tip, and the result is a spitting, erratic arc that people diagnose as everything else first.
Point it for DC, ball or truncate it for AC. For DC steel and stainless, a point roughly two to two and a half times the electrode diameter in length. For AC aluminum the tip naturally balls slightly in use, and a truncated point is the usual starting preparation.
If you touch the puddle, stop and regrind. Dipping the tungsten contaminates it instantly. Welding on through it drags that contamination into every inch that follows. Regrinding takes twenty seconds; the bead you save does not come back.
2. Base metal cleanliness — TIG is the least forgiving process there is
With no flux anywhere in the process, nothing floats contamination out of a TIG puddle. What is on the metal goes into the weld.
Bare metal, every time. Mill scale, paint, galvanising and plating all have to come off, past the weld area rather than up to it.
Degrease after you grind, not before. Grinding spreads oil around rather than removing it. Mechanical first, solvent second.
Aluminum needs its oxide removed mechanically. Aluminum oxide melts far hotter than the aluminum underneath it, so it sits on the puddle as a gray skin and stops fusion. A stainless wire brush kept exclusively for aluminum is the standard answer — and kept exclusively matters, because a brush that has touched steel will embed steel in the surface.
Use separate brushes per material. One for steel, one for stainless, one for aluminum. Cross-contamination here produces defects that look like technique problems.
3. Angles, arc length and rod position
| Variable | Conventional starting point | What goes wrong if it drifts |
|---|---|---|
| Travel angle | About 15 degrees, pushing (torch tilted away from the finished bead) | Too steep draws air into the shield; too upright makes the puddle hard to see |
| Work angle | 90 degrees on flat plate, bisect the corner on a fillet | Uneven leg lengths and undercut on one side of a fillet |
| Arc length | Roughly equal to the electrode diameter | Long arc widens and cools the puddle and loses gas coverage; short arc risks dipping the tungsten |
| Filler position | Fed into the leading edge of the puddle, kept inside the gas envelope | Rod pulled out hot oxidizes and pushes contamination into the next deposit |
| Travel speed | Slow enough that each ripple overlaps the one before it | Too fast gives a narrow ropey bead with poor fusion; too slow burns through |
The one that surprises people: TIG is pushed, with the torch tilted away from the finished bead and the rod fed in front. That is the opposite of flux-core and stick, which are dragged because they produce slag that has to stay behind the arc — push or pull on flux-core explains the rule. TIG has no slag, so the logic reverses: you push, and you feed the rod at the front where you can see it enter the puddle.
4. Pedal control — and the start-and-stop defects nobody warns you about
The foot pedal is the only control that acts during the weld. Every other setting is chosen before you strike and fixed until you stop, which is why pedal technique is most of what separates a good TIG bead from a correct one.
Ramp in rather than stamping on it. Cold metal takes more current to establish a puddle than hot metal takes to keep one. Come up to amperage, let the puddle form, then back off as the plate heats — otherwise the bead starts narrow and grows wider and hotter as you travel, which is the most recognizable beginner TIG bead there is.
Taper out at the end. This is the big one. Lifting your foot abruptly abandons a hot puddle, which shrinks as it solidifies with nothing feeding it. The result is a crater crack — a star-shaped crack in the middle of the end crater, and a genuine defect rather than a cosmetic one. Searches like "poor start stop in welding" are usually describing exactly this.
The fix is two things done together: feed one or two extra dabs of filler as you come off the pedal, and taper the current down over a second or so rather than cutting it. Fill the crater and cool it slowly.
Let the post-flow run. Do not move the torch away the instant the arc stops. The gas continues for a few seconds precisely to shield the cooling weld and the still-hot tungsten — pull away early and you oxidize both. On stainless you can see the difference as color.
Restart on top of the previous crater. When tacking or restarting a bead, start inside the end of the last one and travel forward. Starting ahead of it leaves a cold unfused gap.
5. Gas coverage
Correct flow, correct cup, and the discipline to let post-flow finish. Flow rate and cup size are covered in full on what gas for TIG welding, and the reason a cylinder is non-negotiable at all is does TIG welding need gas.
Two failure modes worth recognizing by sight. Too little flow gives a gray, sooty or blackened bead and a balling tungsten. Too much flow is the counter-intuitive one: it becomes turbulent at the cup and draws surrounding air into the shield, producing the same porosity you were trying to avoid. More gas is not better gas.
Draughts matter more than people expect. An open door or a fan aimed anywhere near the bench will strip the shield off the puddle, which is why TIG is an indoor, still-air process in a way flux-core is not.
Reading your own bead
Evenly spaced ripples the same width the whole way — travel speed and filler rhythm are consistent. This is the goal and it is mostly practice.
Bright silver on steel, straw or light gold on stainless — gas coverage is right. Gray, blue-black or sooty means not enough shielding, too much heat, or both.
A tall narrow bead sitting on the surface — not enough current or moving too fast. It has not fused into the parent metal, which is the serious version of looking wrong.
Black specks in the bead — tungsten contamination or dirty base metal. Regrind on a clean wheel, re-clean the joint.
A star-shaped crack in the end crater — you lifted off the pedal too fast. Taper out and add filler as you finish.
Practice in the order that teaches you something
Run beads on scrap with no filler at all first. It isolates one skill — holding arc length and travel speed with the pedal — and you cannot learn it while also coordinating a rod.
Then add filler on flat plate, then an outside corner joint, then a T-joint fillet, then thinner material. Mild steel before stainless before aluminum, because aluminum adds AC, oxide removal and a much narrower heat window all at once. AC versus DC TIG covers why aluminum is a different problem, and welding projects by skill level sequences the practice.
If you are still choosing a machine, TIG welders for beginners is the roundup, and TIG welding for beginners is the honest version of what the learning curve costs.
Almost all of the above assumes you can change the current while you weld. If you are working at a fixed amperage, that is the thing to fix first — best TIG welders with a foot pedal covers which machines include one and why a torch-mounted control is the alternative.
What we would buy
Arc & Bead is an Amazon Associate. If you buy through a link on this page we may earn a commission, at no extra cost to you. We have not physically tested the machines on this page and we say so on How We Pick.
1. Fix variable one first
CK Worldwide 2% lanthanated tungsten electrodes
2% lanthanated, AC and DC rated, in all three common sizes. The cheapest fix here.
CK Worldwide publishes 2% lanthanated electrodes — the blue band — rated for both AC and DC, in 1/16, 3/32 and 1/8 inch diameters.
Tungsten is first on this page and first in this list because it is the variable people fight hardest and change last. A contaminated or badly ground electrode produces a wandering, spitting arc that feels exactly like a machine fault, and no amount of amperage adjustment fixes it.
One type that works on both polarities is the practical argument. The old advice was pure tungsten for AC aluminum and thoriated for DC steel, which means two boxes, two grinding profiles and a decision every time you change jobs. Lanthanated covers both competently, so the electrode stops being a variable.
The other reason to move off thoriated is that it is mildly radioactive and the grinding dust is the exposure route. Lanthanated removes that question entirely at no performance cost on a home machine.
What works
- Works on AC and DC, so one box covers aluminum and steel and you stop thinking about it
- Contains no thorium, so grinding dust carries no radioactive-material handling question
What does not
- More expensive per electrode than unbranded tungsten of the same designation
- Still needs a dedicated grinding wheel — sharing a wheel with steel contaminates the tip
2. You cannot steer what you cannot see
ESAB Sentinel A60
13.02 sq in at 1/1/1/1, a 2 A DC trigger rating, and half-shade steps for a dim puddle.
ESAB publishes a 13.02 square inch window, a full 1/1/1/1 optical class, four arc sensors, a 0.08 millisecond switching speed, a DC TIG rating down to 2 amps, and a shade range of 3/5 to 13 in half-step increments with a shade lock.
Three of those figures are directly about bead quality rather than comfort. The 2 amp trigger rating decides whether the lens darkens at all on a low current arc — a helmet that does not state one can leave you unprotected on thin stainless at 15 amps.
The 1/1/1/1 optical class matters more on TIG than on any other process because TIG is slow and precise: you are judging the leading edge of a small puddle by a couple of millimetres, for twenty minutes at a time. Haze that a MIG welder would never notice in a thirty-second bead becomes a steering problem here.
And half-shade increments exist for exactly this. A 15 amp arc and a 180 amp arc want genuinely different shades, and a whole-step lens makes you pick between two settings that are both slightly wrong. Helmets for TIG is organized entirely around these numbers.
What works
- Published DC TIG rating down to 2 A — the one specification that decides whether a helmet is usable on thin stainless
- 13.02 sq in at a full 1/1/1/1 optical class, which is a combination almost nothing else offers
- Half-shade increments and shade lock let you settle on an exact shade rather than jumping between whole numbers
- External grind button, so switching modes does not mean lifting the hood and losing your torch position
What does not
- The most expensive helmet on this site apart from the Miller, and much of what it adds over a VIKING 3350 is refinement
- Nine memory settings is more configuration than a home shop running one or two processes will ever use
- Replaces the outgoing Sentinel A50, so older reviews and accessory guides may not match this shell
Who this is wrong for: A shop that only runs MIG and flux-core. On a bright continuous arc none of these three figures changes your results.
3. Feeding filler is a feel problem
Tillman 24C TIG gloves
Unlined kidskin — thin enough to feel the rod, which thick MIG gloves are not.
Tillman publishes unlined kidskin leather construction, intended for TIG.
Variable three on this page is filler-rod control, and this is the part of it that is a purchase rather than a practice. TIG asks you to feed bare rod into a puddle by hand, in small controlled increments, judging the moment by feel. Thick MIG gloves make that genuinely impossible — you cannot tell where the rod is in your fingers, so you feed in lurches and the bead ripples unevenly.
Unlined kidskin is thin enough that the rod stays a thing you can feel. The improvement in bead consistency from switching gloves is larger than most people expect from a glove.
Be clear on the trade: these offer almost no heat protection and are the wrong glove for any wire process. They are an addition to your MIG gloves, not a replacement — gloves and jackets covers both.
What works
- Thin enough to feed filler rod by feel, which is most of TIG technique
- The reference TIG glove that other TIG gloves are compared against
What does not
- Almost no heat protection. They are wrong for MIG and dangerous for stick
- Thin leather wears through at the fingertips within a year of regular use
Who this is wrong for: MIG, flux-core and stick. Unlined kidskin gives almost no heat protection and will not survive spatter.
4. When the torch is what is limiting you
Eastwood TIG 220 AC/DC
A flex-head torch with the gas-lens kit already fitted, included rather than a later upgrade.
Eastwood publishes AC/DC TIG and stick capability, 120 V or 240 V single-phase input, TIG output of 10 to 220 amps on 240 V and 10 to 140 amps on 120 V, an AC TIG duty cycle of 40% at the full 220 and 60% at 179, capacity up to 1/4 inch, and a WP-17F flex-head torch on a twelve-foot lead with a gas-lens collet body, collet and number 8 cup fitted.
Torch quality is the most under-rated specification in TIG, and it is a bead-quality issue rather than a convenience one. Holding a consistent 15 degree torch angle and a steady 1/8 inch arc length for the length of a seam is the physical skill the whole process rests on, and a stiff lead that fights your hand makes it harder than it needs to be.
A flex-head bends to the angle the joint needs rather than the angle your wrist allows, which is what gets you into a corner or a tube cluster without rolling your hand into a position you cannot hold.
The gas lens matters as much as the flexible head. Most machines in this price range ship a plain collet body and a standard cup, and fitting a gas-lens kit is the first upgrade owners make — a real cost that never shows up in a comparison. Here it arrives assembled. The 10 amp bottom end also gives you the whole usable low range for thin material.
What works
- It publishes both supply figures — 10 to 220 A on 240 V and 10 to 140 A on 120 V — so you can size the circuit before you buy instead of after
- Adjustable AC balance and AC frequency plus pulse frequency, peak on-time and base current: the controls that actually change how aluminum behaves
- Flex-head torch with a gas-lens kit, foot pedal, argon regulator/flowmeter and ground clamp are all in the box. Only the gas bottle is extra
- 22.93 lb. Almost nothing else in the AC/DC class is light enough to carry to the work rather than the other way round
What does not
- The 40% duty cycle applies at the full 220 A in AC TIG; the 60% figure is at 179 A. The AlphaTIG publishes 60% at 200 A
- The bundled torch is a WP-17 pattern — widely supported and cheap on consumables, but not a branded premium torch
- Full output needs the 240 V circuit. On 120 V Eastwood publishes 140 A in TIG and 120 A in stick, roughly two-thirds of the machine
- Eastwood publishes one 1/4 in capacity figure for the machine rather than separate steel and aluminum numbers, so there is less to compare on than some rivals give you
Questions people actually ask
What makes a good TIG weld?
Five variables, with amperage only one of them: tungsten preparation, base metal cleanliness, torch and filler angle, pedal control, and gas coverage.
A good bead is evenly rippled, bright silver on steel or straw-colored on stainless, and the same width the whole way along. Work the list in that order, because each variable masks the ones below it.
Why do my TIG welds look bad when my settings are right?
Almost always tungsten or cleanliness, which no settings chart covers. A contaminated or badly ground electrode gives a wandering, spitting arc that feels exactly like a machine fault.
Grind lengthways on a wheel kept for tungsten only, and clean the base metal back to bare, degreasing after grinding rather than before.
Why does my TIG weld crack at the end of the bead?
You lifted off the pedal too fast. Abandoning a hot puddle lets it shrink as it solidifies with nothing feeding it, which produces a star-shaped crater crack - a real defect, not a cosmetic one.
The fix is two things together: feed one or two extra dabs of filler as you come off the pedal, and taper the current down over about a second rather than cutting it.
Do you push or pull a TIG torch?
Push. Tilt the torch about 15 degrees away from the finished bead and feed the filler rod into the leading edge of the puddle where you can see it enter.
That is the opposite of flux-core and stick, which are dragged because they produce slag that must stay behind the arc. TIG has no slag, so the logic reverses.
How long should the TIG arc be?
Roughly equal to the electrode diameter. A long arc widens and cools the puddle and loses gas coverage; too short risks dipping the tungsten into the puddle, which contaminates it instantly.
Holding a consistent arc length is the physical skill the whole process rests on, which is why practicing beads with no filler rod is worth doing first.
Can too much shielding gas ruin a TIG weld?
Yes, and it is the counter-intuitive one. Excess flow becomes turbulent at the cup and draws surrounding air into the shield, producing the same porosity you were trying to prevent.
Too little flow shows as a gray, sooty or blackened bead and a balling tungsten. More gas is not better gas.
What tungsten should I use for good TIG welds?
2% lanthanated - the blue band - because it is rated for both AC and DC, so the electrode stops being a variable when you move between aluminum and steel.
Avoid thoriated for home use: it is mildly radioactive and the grinding dust is the exposure route, with no performance advantage on a home machine.
Sources
- American Welding Society — gas tungsten arc welding (GTAW) technique, electrode preparation and joint cleanliness guidance
- CK Worldwide — 2% lanthanated tungsten published data: AC and DC rated, 1/16, 3/32 and 1/8 in
- ESAB — Sentinel A60 published specifications: 13.02 sq in, 1/1/1/1, 2 A DC TIG rating, half-shade steps
- Tillman — 24C TIG glove published specifications: unlined kidskin leather
- Eastwood — TIG 220 AC/DC (SKU 74010) published specifications: TIG 10–220 A on 240 V and 10–140 A on 120 V, AC TIG duty cycle 40% at 220 A and 60% at 179 A
- Eastwood — TIG 220 AC/DC product overview: WP-17F flex-head torch with gas lens kit, foot pedal, argon regulator/flowmeter and adapter cord in the box
- OSHA — 29 CFR 1910.133 Table I-5, minimum protective shade for gas tungsten arc welding
Read next
- TIG welding settings chart
Amperage, tungsten and filler size by metal and thickness, plus symptom-by-symptom diagnosis.
- TIG welding for beginners
Torch angle, arc length, feeding rod — the order to learn TIG in so it stops feeling impossible.
- AC vs DC TIG: which do you actually need?
What AC output does, why DC cannot weld aluminum, and how to decide before you buy.
- Do you need gas for TIG welding?
Yes, always. There is no gasless TIG and no flux-cored shortcut — here is what that costs.
- The best welding helmets for TIG welding
TIG helmets are decided by minimum trigger amperage, not viewing area. Four that publish the figure.
- Level 3 · TIG: aluminum, stainless, and welds you meant to look like that
TIG is slower, harder and more expensive than wire welding. It is also the only way to weld aluminum properly at home, and the only way to get a bead you would photograph.
Back to Level 3 · TIG, or start over at Find Your Level.
Ryder M.
Ryder M. is the hands-on owner behind Magoo Media Group. He writes Arc & Bead's buying guides and picks every machine on the site. What every recommendation is based on — and what it is not based on — is set out on How We Pick.