How to weld for the first time
Your first session has one job: a bead on scrap that you understand. Here is the order to do things in, and what to ignore.
The first session, in order
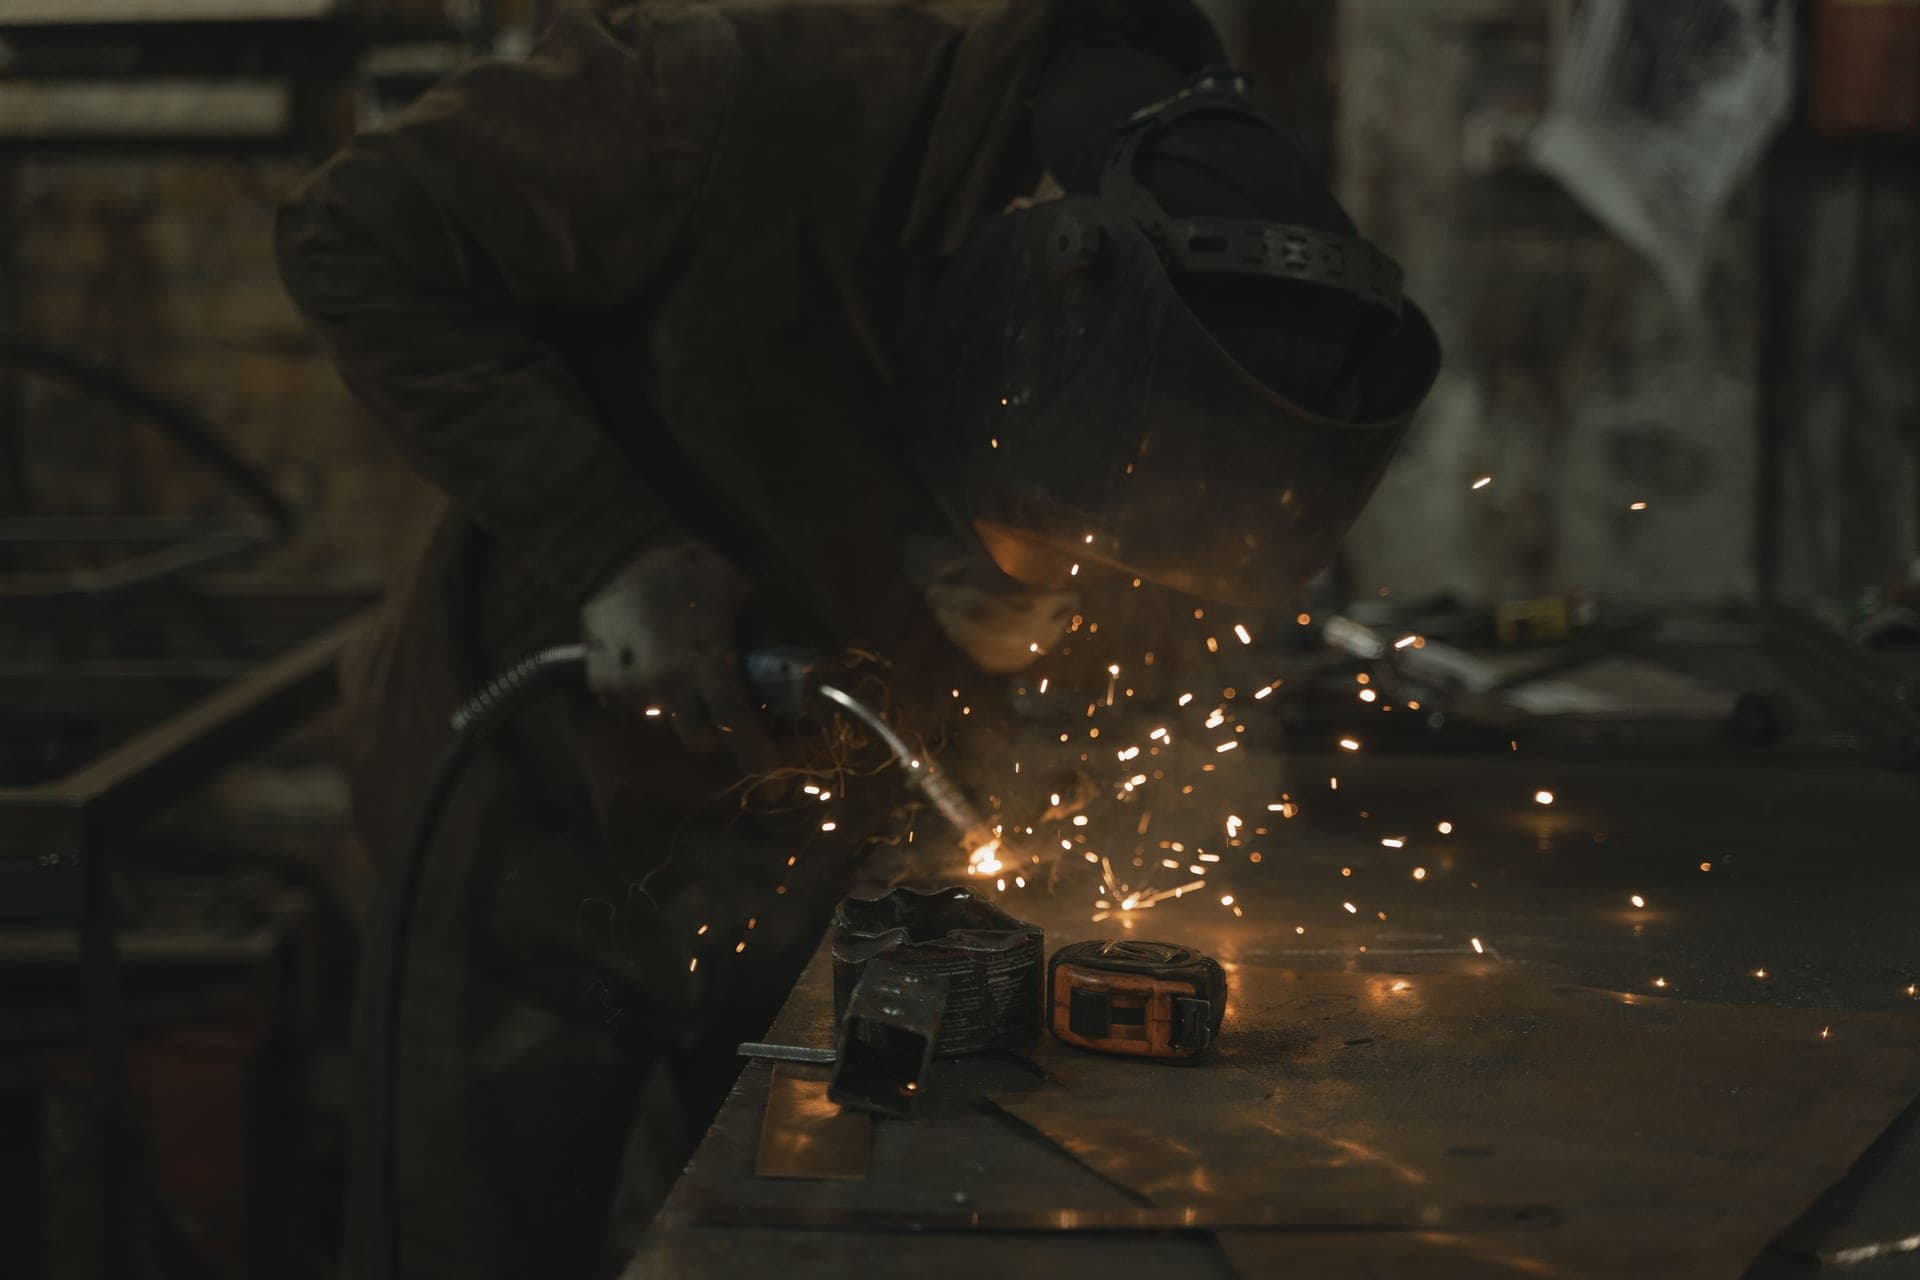
Your first welding session should produce one thing: a bead on scrap that you can explain. In order — set up somewhere with nothing flammable in ten feet, put the helmet and gloves on, clean a piece of scrap to bright metal, set the machine to the chart on its own door, lay four inches of bead, look at it, change one thing, do it again.
That is the whole plan, and the discipline is in what it leaves out. A first session is not for building anything, not for joining two pieces, and not for getting a weld you would show someone. It is for finding out what the arc sounds like when the settings are roughly right, which is the thing no amount of reading transfers.
The welding starter kit checklist covers what to own before you get here. This page assumes the box is open.
Before you strike an arc: the ten-foot rule
Welding sparks travel much further than people expect, and a flux-core arc throws them in every direction including behind you. Before anything else:
Clear ten feet. No fuel cans, no aerosols, no sawdust, no cardboard, no paint tins, no dry leaves. Not covered — gone. A spark finds the one thing you decided would probably be fine.
Ventilate, properly. Open the door, and put a fan blowing across the work and away from your face rather than at it. A fan pointed at the weld strips shielding gas and causes porosity, and a fan behind you pushes fume into your breathing zone. Welding respirators and fume safety covers what is actually in the fume.
Have a way to put a fire out, within reach rather than in the house.
Cover your skin. Long sleeves in cotton or leather, trousers over your boots, nothing synthetic. An arc gives you sunburn through a single session and synthetic fabric melts rather than chars.
The one that catches everyone
Arc eye does not hurt at the time. It hurts six hours later, and it comes from the flashes you caught at the edge of your vision while someone else was welding or while you were looking at the work with the hood up. Helmet down before the trigger, every time, including for a tack.
Setting the machine without a chart in your head
Almost every wire-feed welder has a settings chart printed inside the wire-compartment door, matched to the machine and the wire sizes it takes. On your first session that chart is the best information available to you, and it is better than any general table on the internet including ours.
Find your material thickness on it, set the voltage or tap it suggests and the wire-feed speed to match, and leave it there. Do not start by adjusting things. The purpose of the first bead is to give you a reference point, and you cannot have one if you changed three variables before laying it.
Our flux-core settings chart is there for when your machine's own chart is missing or unreadable, not as a replacement for it.
Scrap first, and clean it
Use a piece of scrap around an eighth to a quarter inch thick. Thinner is harder, not easier — thin steel burns through while you are still learning to move at a steady pace.
Then clean it. Grind or wire-brush the surface to bright metal, not just wipe it. Mill scale, rust, paint and oil all stop the weld fusing properly, and a first-timer looking at a bad bead cannot tell whether the cause was their hands or the surface. Removing that ambiguity is worth five minutes.
Clamp the work and clamp the earth lead to clean bare metal on the same piece. A poor earth connection produces an arc that stutters, which feels exactly like a technique problem.
Posture, which decides more than you would think
Sit if you can. Rest both forearms on something. Get the joint at a height where your head is over it without your neck craning, because the moment your neck is working your hands stop being steady.
Hold the gun with two hands — one on the handle, one supporting the neck or resting on the work. Nearly every first-timer holds it like a drill, one-handed and out in free air, and then wonders why their travel speed wanders.
Then nod the hood down and make sure you can still see the joint before you pull the trigger. Knowing where the weld starts while the hood is dark is a real skill, and the trick for day one is to look at where the wire touches the metal, not at the joint as a whole.
Your first bead: four inches, then stop
Lay a bead on the flat face of the scrap — not a joint, just a line on the surface. This is called a pad or a practice bead, and it isolates the one thing you are learning: moving at a steady speed with a steady stick-out.
Push the gun along at the pace of a slow, deliberate pen stroke. Keep the tip roughly three-eighths of an inch from the work. Angle the gun around fifteen degrees from vertical. On flux-core, drag — pull the gun away from the bead rather than pushing into it — and flux-core push or pull explains why that is different from gas MIG.
Four inches. Then stop, lift the hood, and let it cool before you touch it. Hot steel looks exactly like cold steel.
Reading your first bead
Chip the slag, brush it, and look at four things.
| What you see | What it usually means | What to change |
|---|---|---|
| Tall, narrow, sitting on top of the metal | Not enough heat, or moving too fast | Increase voltage one step, or slow down |
| Wide, flat, with a hole or a thin spot | Too much heat, or moving too slowly | Decrease voltage one step, or speed up |
| Uneven width along the bead | Travel speed is wandering — the usual day-one issue | Nothing on the machine. Support both forearms and try again |
| A stuttering, popping arc | Poor earth connection, or dirty metal | Clamp the earth to bright bare metal; clean the surface |
| Heavy spatter everywhere | Normal on flux-core; excessive if the bead also looks ropey | Check polarity and settings before blaming yourself |
Then change one thing and lay another bead beside the first. One variable at a time is the entire method, and keeping the test piece gives you something to compare against in a week.
Two beads in a session is a good session. If you got a bead you understand, you are ahead of where most people are after three. Beginner welding mistakes is the page for when something specific goes wrong, and welding projects by skill level is where to go once beads are boring.
If you are still deciding whether to start at all, is welding hard to learn gives an honest answer process by process — an afternoon for flux-core and MIG, months for TIG — and names what is actually difficult in each.
What we would buy
Arc & Bead is an Amazon Associate. If you buy through a link on this page we may earn a commission, at no extra cost to you. We have not physically tested the machines on this page and we say so on How We Pick.
1. The machine to learn on
Forney Easy Weld 261 140 FC-i
120 V flux-core with two dials and no gas bottle — the fewest things that can be set wrong on day one.
Forney publishes this as a 120 V self-shielded flux-core machine with infinite voltage and wire-feed adjustment. For a first session, the specification that matters is how few decisions it asks you to make: plug it in, set two dials, weld.
No gas means no regulator, no flow rate, no bottle and no draught problem. That removes four of the most common reasons a first weld looks wrong for a reason you cannot diagnose yet.
The trade is slag and spatter, which is why your first hour will involve a wire brush. Flux-core welding for beginners is the companion page once you have the arc going.
What works
- 30% duty cycle at 90 A is unusually generous for a 120 V machine in this class
- Infinite voltage and wire-speed control rather than four fixed taps, so you can actually dial a setting in
- 19 lb — genuinely carryable to the job instead of the job coming to it
- No gas bottle, no regulator, no second purchase before your first weld
What does not
- Flux-core only. It will never run gas, so it cannot become your Level 2 machine
- Every weld leaves slag that has to be chipped and wire-brushed off
- Needs a 20 A circuit — a 15 A garage lighting circuit will trip at higher settings
2. The helmet to start with
Antra DP3-6404
A 2-amp trigger rating and an ANSI Z87.1 rating at a price where neither is normal — adequate is the bar, and it clears it.
Antra publishes a true-color lens with a 3/5 to 13 shade range and a shade lock, a DC TIG rating down to 2 amps, tack, weld and cut memory presets, a quick grind button, ANSI Z87.1 compliance, and solar power with battery backup.
A published trigger rating at this price is the notable part, and ANSI Z87.1 is the line between eye protection and a novelty. For a first session, auto-darkening matters more than anything else on the spec sheet: a fixed-shade hood has to be nodded down before you strike, and that single extra motion is where most first-timers lose their torch position.
The headgear is the weak point and the part owners most often replace, and the optical class is not published as 1/1/1/1. Both are reasons to upgrade later, not reasons to wait.
What works
- A published 2 A TIG rating at the bottom of the market, where the usual answer is no rating at all
- Shade 5 low end covers plasma cutting, so one cheap helmet spans more than MIG
- Quick grind/weld button and shade lock — two things that are normally the first upgrade
- Cheap enough that starting here and upgrading later costs less than agonizing over it
What does not
- Antra does not publish a 1/1/1/1 optical class for it, and over a long session you can feel the difference
- Headgear is the weak point on budget helmets generally, and this one is no exception
- A small shell: next to a VIKING 3350 the view is noticeably tighter
Who this is wrong for: Low-amperage TIG. The switching speed is adequate for MIG and stick, and this is not a TIG helmet.
3. The gloves to start with
Lincoln Electric traditional MIG/stick welding gloves
Heat protection for MIG, flux-core and stick — the right trade for a first session, where feel matters less than not flinching.
Lincoln publishes these as traditional leather MIG and stick gloves. On day one you want heat protection rather than dexterity: a flux-core bead throws spatter, the work gets hot faster than you expect, and a glove that lets you hold position without flinching is worth more than one that lets you feel the filler.
TIG is the opposite problem — thin gloves, feel over protection — which is why welding gloves and jackets treats them as two different purchases.
What works
- Thick enough that you can rest a hand near the work without flinching, which improves your gun control more than any setting
- Long cuff protects the wrist gap where spatter finds you
What does not
- Far too thick for TIG — you cannot feel a filler rod through them
- Stiff until broken in
4. The wire to start with
Lincoln Electric Innershield NR-211-MP flux-cored wire
The default wire for a 120 V flux-core machine, and one less variable while you learn to read a bead.
Lincoln publishes NR-211-MP as a general-purpose self-shielded flux-cored wire for small wire-feed machines. Starting on it rather than on a cheaper practice wire is deliberate: it runs cleaner, which means the bead you are looking at is mostly telling you about your hands rather than about the wire.
Once your travel speed is consistent, switching to a cheaper practice wire for volume is a sensible economy — the welding wire size chart covers which diameter goes with which thickness.
What works
- Lincoln publishes full procedure tables for it, so there is a documented starting setting for every thickness
- All-position rated — it will run a vertical fillet, not just a flat bead
- Available in 1 lb, 5 lb and 10 lb spools, so a small machine does not need a big spool
What does not
- Noticeably more expensive per pound than unbranded E71T-GS wire
- Like every self-shielded wire it produces slag and more spatter than a gas process
Questions people actually ask
What should I do in my first welding session?
Produce one practice bead on clean scrap that you can explain. In order: clear ten feet of anything flammable, put on helmet and gloves, clean a piece of quarter-inch scrap to bright metal, set the machine to the chart inside its own door, lay four inches of bead, look at it, change one variable, repeat.
Do not try to join two pieces or build anything. A first session is for a reference point, not a result.
How thick should my practice metal be?
Around an eighth to a quarter of an inch. Thinner steel is harder rather than easier - it burns through while you are still learning to move at a consistent pace.
Clean it to bright metal before you start. Mill scale and rust produce bad beads that you will mistakenly blame on your technique.
What settings should I use for my first weld?
The ones on the chart printed inside your machine's wire-compartment door, matched to your material thickness and wire size. On a first session that chart beats any general table, including ours.
Set it and leave it. The point of a first bead is to give you a reference, and you cannot have one if you adjusted three things before laying it.
Is flux-core or gas MIG easier to learn on?
Flux-core, for one reason that has nothing to do with the arc: there is no gas bottle, regulator, flow rate or draught to get wrong.
That removes several ways a first weld can look bad for reasons you cannot yet diagnose. The trade is slag and spatter, so expect to spend time with a wire brush.
Why does my first bead look uneven?
Almost always travel speed rather than machine settings. Holding a steady pace is the hardest part of day one, and it is a posture problem more than a skill problem.
Sit down, rest both forearms on something, and hold the gun with two hands. Most first-timers hold it one-handed in free air like a drill.
What safety gear do I need for a first session?
An auto-darkening helmet rated to ANSI Z87.1, leather gloves, long sleeves in cotton or leather, trousers over your boots and nothing synthetic anywhere.
Also ten clear feet with nothing flammable in it, a way to put out a fire within reach, and a fan blowing across the work rather than at it or at your face.
How long should a first welding session be?
Short. Two practice beads with a proper look at each is a good first session, and concentration is the limiting factor rather than the machine.
Small wire-feed welders also have modest duty cycles - 30% at 90 A is typical - so the machine will want breaks at roughly the same rate you do.
Sources
- Lincoln Electric — safety and getting-started guidance for small wire-feed welding machines
- American Welding Society — ANSI Z49.1, Safety in Welding, Cutting, and Allied Processes
- OSHA — 29 CFR 1910.252 and 1910.133, welding, cutting and brazing requirements and eye protection
- Forney Industries — Easy Weld 261 140 FC-i published specifications and setup guidance
- Antra — DP3-6404 published specifications: 3/5–13 shade range with shade lock, 2 A DC TIG rating, ANSI Z87.1, solar plus battery
Read next
- The welding starter kit checklist
Everything that is not the welder, ordered by how much each item changes your results.
- Beginner welding mistakes, and how to fix them
Ten causes behind most bad first welds — including the two that look like machine faults.
- Flux-core welding for beginners
Drag or push, polarity, reading your first bead, and what to change when it is wrong.
- Flux-core welding settings chart
Starting settings by thickness, and a symptom-by-symptom guide to fixing a bad bead.
- Welding projects by skill level
A project sequence where each one teaches one new thing, matched to the machine you have.
- Find your level before you spend a penny
Most bad first welder purchases are not bad machines. They are the right machine bought by the wrong person, one level too early or one level too late.
Back to Find Your Level, or start over at Find Your Level.
Ryder M.
Ryder M. is the hands-on owner behind Magoo Media Group. He writes Arc & Bead's buying guides and picks every machine on the site. What every recommendation is based on — and what it is not based on — is set out on How We Pick.